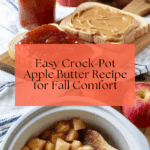
Apple Butter in the Crock-pot Recipe
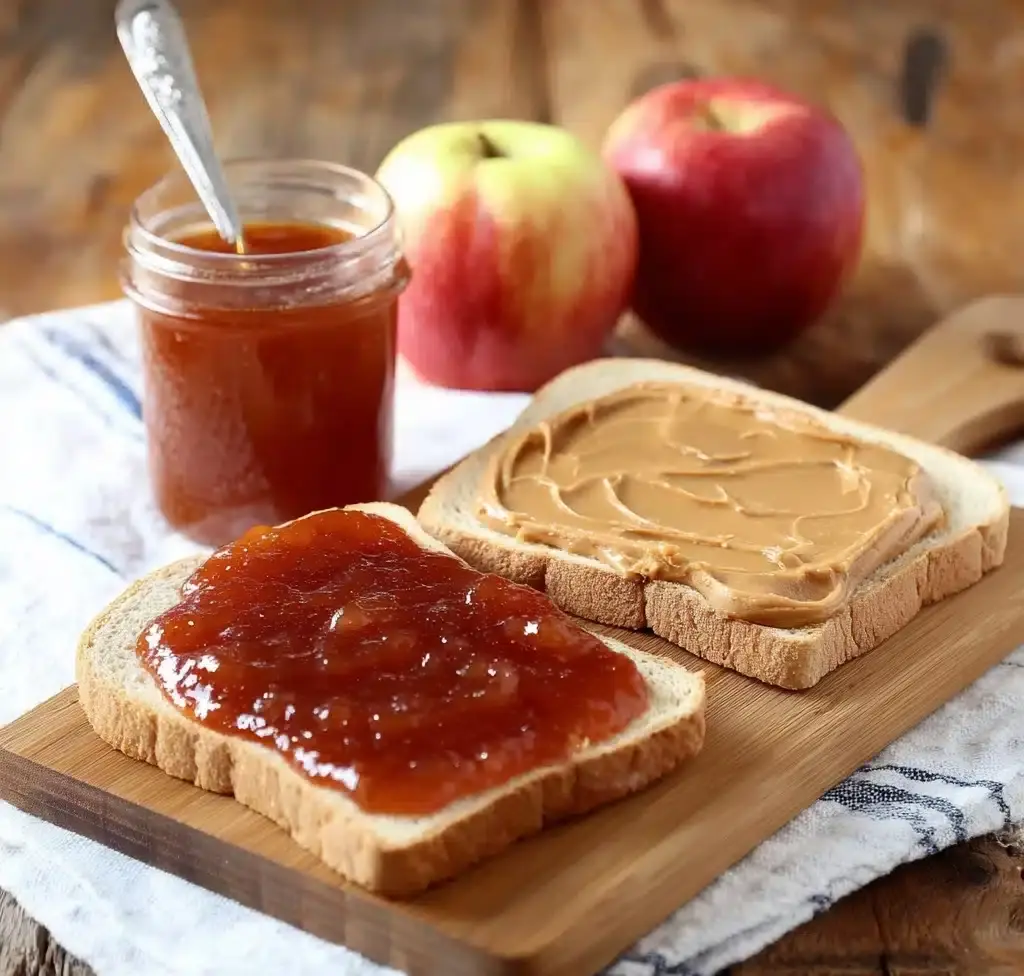
If you’re ready to fall in love with a warm, comforting spread that feels like autumn in a jar, you have to try making Apple Butter in the Crock-pot. This slow-cooked delight transforms simple apples into a deeply spiced, velvety-smooth treat that’s perfect for toast, baking, or even a dollop on your morning oatmeal. The magic of using a crock-pot means your kitchen fills with tantalizing aromas all day long, while you simply let time do the work. Trust me, once you make this Apple Butter in the Crock-pot, you’ll wonder how you ever enjoyed apple season without it!
Ingredients You’ll Need
This recipe calls for some straightforward, wholesome ingredients that come together to create layers of flavor, texture, and just the right sweetness. Each one plays a critical role, from the crisp, fresh apples that form the base to the warming spices that make this spread truly special.
- 6 lbs apples (peeled and roughly chopped): Using a mix like Gala, Fuji, and Honeycrisp gives a perfect balance of sweetness and tartness, along with a beautiful golden color to the finished apple butter.
- 3 cups white sugar: This balances the natural tartness of the apples and helps create that thick, luscious texture everyone loves.
- 2 teaspoons cinnamon: Cinnamon is the heart of this recipe, bringing warm, fragrant spice that turns apple butter into an irresistible autumn classic.
- 1/4 teaspoon kosher salt: Just a pinch to enhance the flavors and balance the sweetness, making every bite pop with flavor.
How to Make Apple Butter in the Crock-pot
Step 1: Combine Ingredients in the Crock-pot
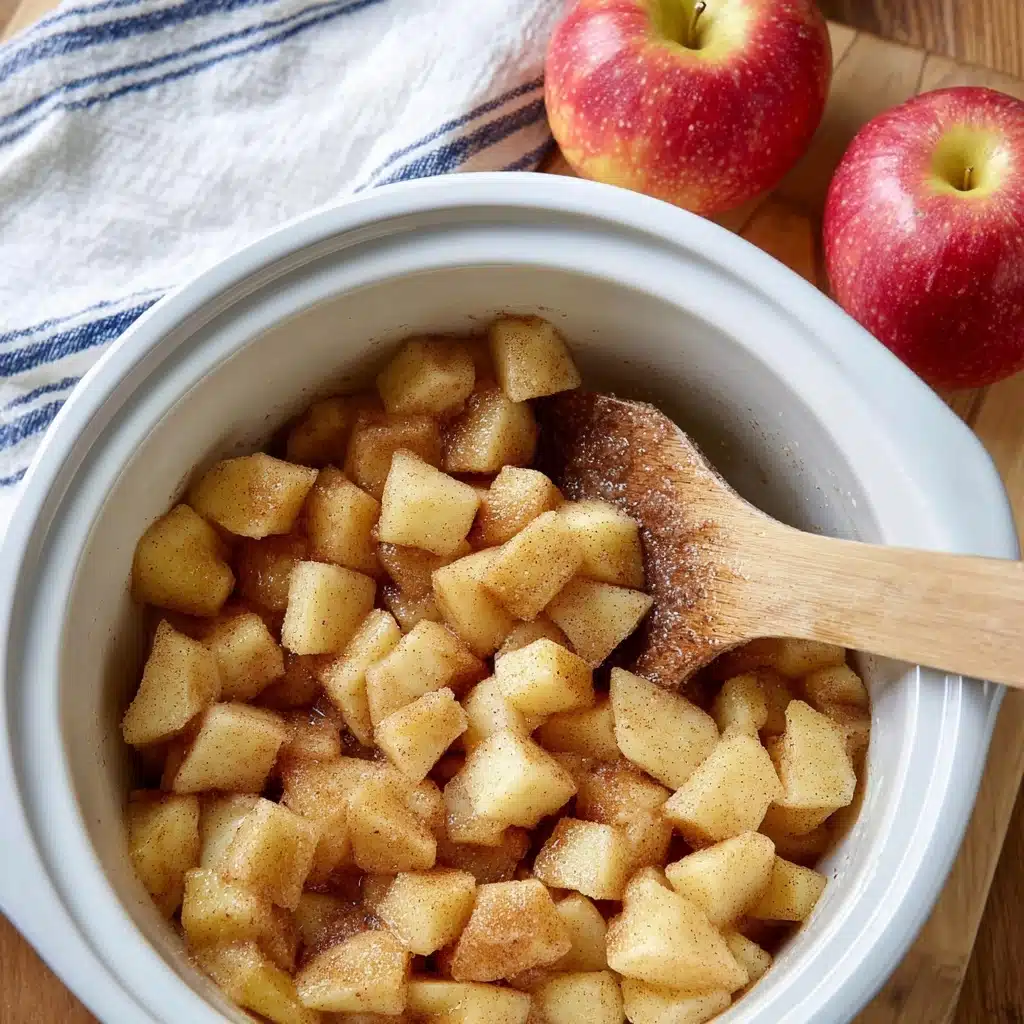
Start by placing all your peeled and chopped apples right into the crock-pot. Then sprinkle over the sugar, cinnamon, and salt. Cover with the lid and set your crock-pot to HIGH. This initial heating helps release the apples’ natural juices and starts the magic of slow cooking.
Step 2: Simmer Uncovered and Stir
After a few hours, remove the lid and give everything a good stir. Leaving the crock-pot uncovered lets excess moisture evaporate which thickens the mixture. Continue cooking on HIGH, stirring occasionally to keep your apple butter from sticking or burning along the edges.
Step 3: Blend Until Smooth
Once the apple mixture has turned a rich, dark brown and thickened to your liking after about 8 to 10 hours, it’s time to blend. Use an immersion blender right in the crock-pot for convenience and control, or carefully transfer the warm mixture to a blender. The goal is to get that perfect, smooth consistency that defines great apple butter.
Step 4: Adjust Thickness on Low Heat
If your apple butter feels a bit thin after blending, don’t worry. Switch your crock-pot to LOW and leave it uncovered, letting it simmer gently to thicken further. Stir every so often to prevent sticking—you’ll find that the texture becomes luxuriously thick and spoonable in about 30 minutes to 2 hours.
Step 5: Jar It While Warm
Once the apple butter has reached your preferred thickness, transfer it immediately into sterile canning jars. Filling the jars while warm helps with preservation and lets you enjoy this homemade goodness well beyond apple season.
How to Serve Apple Butter in the Crock-pot
Garnishes
Think beyond just spreading! A pinch of extra cinnamon or a swirl of honey on top can add a fresh twist that elevates your serving presentation. You might also sprinkle a little chopped pecans or toasted oats for a satisfying crunch.
Side Dishes
Apple butter is a perfect partner for warm breads and biscuits, but it also pairs brilliantly with sharp cheddar cheese or creamy ricotta. For breakfast, a smear of apple butter atop pancakes or waffles adds a naturally sweet kick that everyone will love.
Creative Ways to Present
Turn this Apple Butter in the Crock-pot into a star by using it as a filling for thumbprint cookies, layering it in parfaits with yogurt and granola, or swirling it into muffin or cake batter before baking. It can also serve as a unique glaze for roasted pork or chicken dishes!
Make Ahead and Storage
Storing Leftovers
Once cooled, store your apple butter in airtight containers in the refrigerator. It will keep well for up to two weeks, ready to brighten your toast or recipes at a moment’s notice.
Freezing
If you want to keep your Apple Butter in the Crock-pot for even longer, freezing is a fantastic option. Use freezer-safe jars or containers and leave a bit of room for expansion. Frozen apple butter maintains its quality for several months and is a wonderful way to capture apple season in your freezer.
Reheating
Reheat apple butter gently on the stove or in the microwave. Warm it just enough to loosen the texture without overheating, so it stays as flavorful and smooth as when freshly made. Stir well after reheating before serving.
FAQs
Can I use any type of apples for this recipe?
Absolutely! While Gala, Fuji, and Honeycrisp add great sweetness and texture, you can experiment with other varieties. Just keep in mind that tart apples might need a bit more sugar, and some types break down faster during cooking.
Do I have to peel the apples?
Peeling the apples ensures your apple butter is extra smooth and silky, but if you don’t mind a bit of texture and more nutrients, you can leave the skins on. Just chop them smaller so everything cooks evenly.
Why do I cook with the lid off after a few hours?
Cooking uncovered lets moisture evaporate so the apple butter thickens properly. Keeping the lid on would trap steam and produce a thinner mixture that takes longer to reach that perfect spreadable texture.
Is there a way to make this apple butter less sweet?
Yes! You can reduce the sugar slightly if you prefer a more tart apple butter. Just remember that sugar also helps with the texture and preservation, so don’t cut too much without balancing flavors.
Can this apple butter be canned for long-term storage?
Definitely! If you have canning experience, you can process your filled jars in a water bath to store apple butter for months. Just follow safe preservation guidelines to avoid spoilage.
Final Thoughts
I hope you’re as excited as I am to give this Apple Butter in the Crock-pot a try. It’s one of those recipes that feels like a warm hug on a chilly day and makes the most of fresh apples with minimal effort. Whether you spread it on toast, bake with it, or gift it to someone special, it’s sure to become a household favorite the moment you taste it.
PrintApple Butter in the Crock-pot Recipe

This slow cooker apple butter recipe transforms fresh apples into a rich, thick, and flavorful spread perfect for toast, baking, or as a condiment. Using a crock-pot allows for minimal effort and maximum flavor development, with warm cinnamon notes enhancing the natural sweetness of Gala, Fuji, and Honeycrisp apples. The result is a smooth, spreadable apple butter that is naturally sweetened and deeply comforting.
- Prep Time: 20 minutes
- Cook Time: 8 to 12 hours
- Total Time: 8 hours 20 minutes to 12 hours 20 minutes
- Yield: Approximately 6 cups of apple butter 1x
- Category: Condiment, Spread
- Method: Slow Cooking, Simmering, Blending
- Cuisine: American
- Diet: Vegetarian
Ingredients
Main Ingredients
- 6 lbs apples (peeled and roughly chopped; Gala, Fuji, and Honeycrisp recommended)
- 3 cups white sugar
- 2 teaspoons ground cinnamon
- 1/4 teaspoon kosher salt
Instructions
- Prepare the apples: Peel the apples and chop them roughly into pieces, removing cores but keeping some bits for texture is fine. Use a mix of Gala, Fuji, and Honeycrisp for balanced sweetness and flavor.
- Add ingredients to crock-pot: Place the chopped apples into the crock-pot, then evenly sprinkle the sugar, cinnamon, and kosher salt over the top.
- Cook covered on high: Cover with the crock-pot lid and set to HIGH heat. Let cook for a few hours to soften the apples and start melding flavors.
- Uncover and stir: After a few hours, remove the lid and stir the mixture well to prevent sticking and uneven cooking.
- Simmer uncovered: Continue cooking with the lid off to let moisture evaporate, stirring occasionally to keep the apples from sticking to the crock-pot sides and burning. This will deepen color and thicken the mixture.
- Check for thickness: After about 8-10 hours total, when the apple butter is thick and dark brown and most liquids are absorbed, move to pureeing.
- Puree the mixture: Use an immersion blender directly in the crock-pot to blend until the mixture is smooth. Alternatively, transfer in batches to a blender and puree thoroughly.
- Adjust thickness: If you prefer thicker apple butter, continue simmering on LOW, uncovered, stirring occasionally to prevent sticking. This process can take 30 minutes to 2 hours depending on desired consistency.
- Jar the apple butter: Once finished, immediately transfer the hot apple butter into sterile canning jars for storage or gifting. Seal and refrigerate or process for long-term preservation.
Notes
- For a less sweet version, reduce sugar quantity to 2 cups or substitute part of it with brown sugar or honey.
- You can add a pinch of ground cloves or nutmeg for a spiced variation.
- Store apple butter in the refrigerator for up to 3 weeks or freeze in airtight containers for up to 6 months.
- Ensure jars are properly sterilized to prevent contamination and extend shelf life.
- Using an immersion blender is easier and safer directly in the crock-pot, but a standard blender works well too.
- Different apple varieties will affect sweetness and texture slightly; adjust sugar accordingly.
Nutrition
- Serving Size: 2 tablespoons (about 30 g)
- Calories: 80
- Sugar: 19 g
- Sodium: 55 mg
- Fat: 0 g
- Saturated Fat: 0 g
- Unsaturated Fat: 0 g
- Trans Fat: 0 g
- Carbohydrates: 21 g
- Fiber: 1.5 g
- Protein: 0.2 g
- Cholesterol: 0 mg
Keywords: apple butter recipe, crock-pot apple butter, slow cooker apple butter, homemade apple spread, fall recipes, cinnamon apple butter