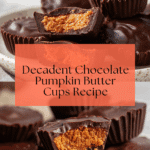
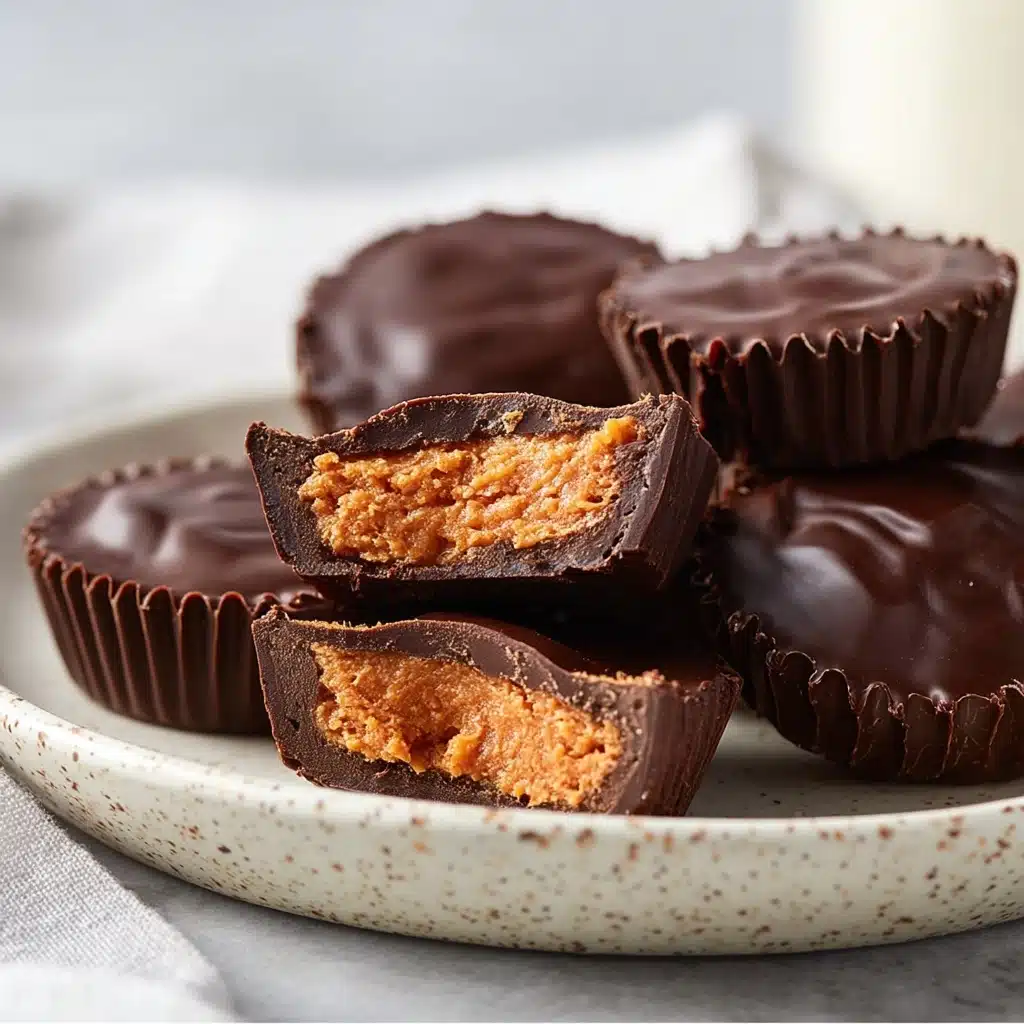
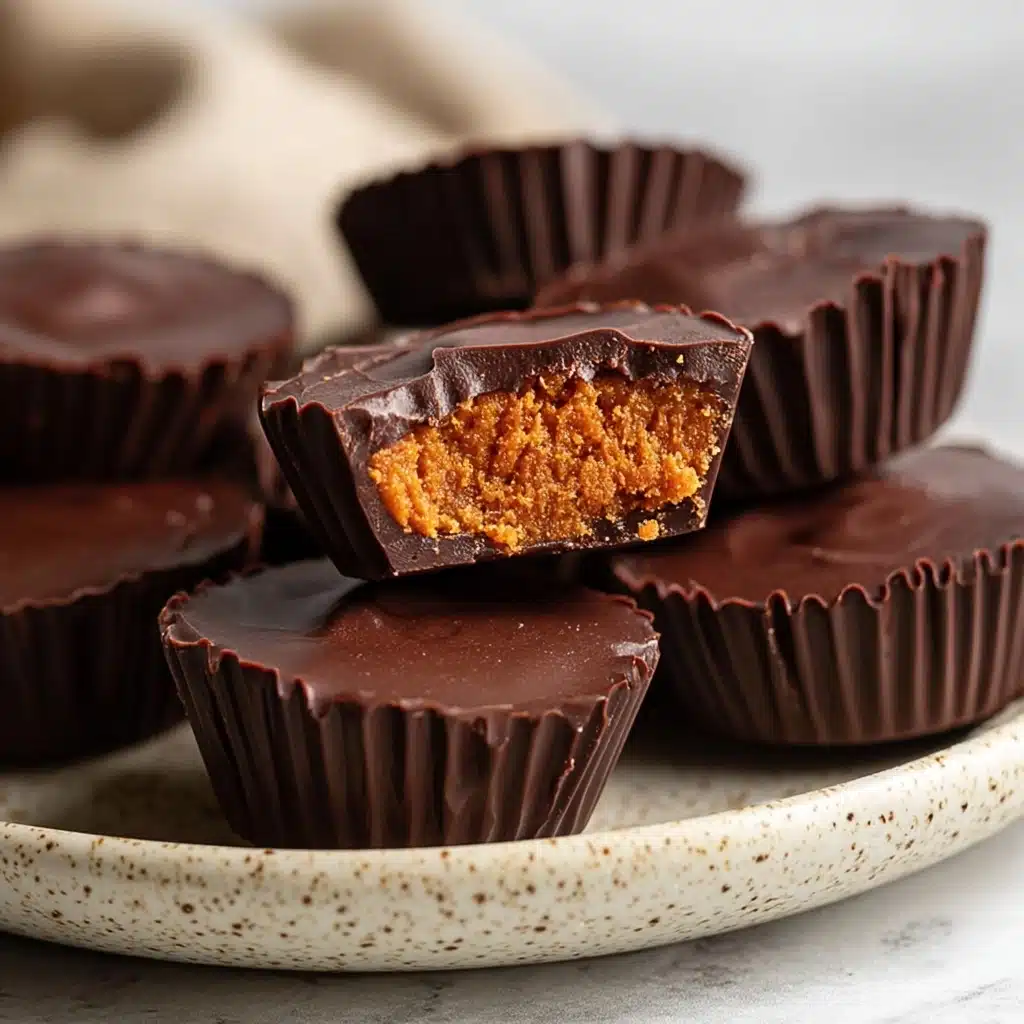
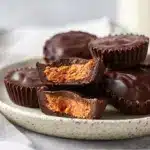
Chocolate Pumpkin Butter Cups Recipe
If you are ready to dive into a comforting seasonal treat, these Chocolate Pumpkin Butter Cups are an absolute delight you won’t want to miss. Imagine the creamy spice-kissed pumpkin butter nestled between layers of rich, dairy-free chocolate that melt in your mouth. It’s a perfect marriage of fall flavors and indulgent chocolate, tailored to give you a cozy, satisfying snack that’s both elegant and easy to make. Whether for a festive gathering or a personal treat, these cups bring warmth and joy in every bite.
Ingredients You’ll Need
Bringing together simple, wholesome ingredients is the secret behind the magic of these Chocolate Pumpkin Butter Cups. Each component has a unique role, from the velvety pumpkin puree that infuses bold flavor, to the dairy-free chocolate that provides luscious texture and richness.
- ⅓ cup pumpkin puree: This is the heart of the recipe, offering smoothness and a beautiful autumnal flavor.
- ½ tsp vanilla bean powder (or vanilla extract): Adds a sweet, fragrant depth that lifts the pumpkin beautifully.
- 1 tbsp maple syrup: Naturally sweetens the pumpkin butter without overpowering the spices.
- 1 tsp cinnamon: Brings classic warmth and spice, perfectly complementing the pumpkin.
- ½ tsp nutmeg (or mace for AIP): Provides a comforting, slightly nutty spice note essential for fall flavors.
- 1 ½ cup dairy-free chocolate chips: Choose a quality brand for creamy melt and allergy-friendly indulgence.
- 1 tbsp coconut oil: Helps create a smooth, glossy chocolate coating and improves setting.
- ¼ tsp salt: Balances the sweetness and enhances the overall flavor.
How to Make Chocolate Pumpkin Butter Cups
Step 1: Prepare the Pumpkin Butter
Start by combining the pumpkin puree, vanilla bean powder, maple syrup, cinnamon, and nutmeg (or mace) in a bowl. Stir everything together until smooth and evenly mixed. This fragrant pumpkin butter is the star filling, bringing warmth and gentle sweetness that sets these cups apart.
Step 2: Melt the Chocolate Mixture
Set up a double boiler by placing a heatproof bowl over simmering water. Add the dairy-free chocolate chips, coconut oil, and salt to the bowl and stir gently until completely melted and glossy. This rich chocolate shell will encase the pumpkin filling in creamy goodness.
Step 3: Build the Butter Cups
Using a silicone candy cup mold, pour the melted chocolate until each cavity is about halfway full. Then spoon about ½ tablespoon of the pumpkin butter on top of the chocolate layer inside each cup—this amount ensures you get a generous, flavorful bite. Finally, cover the pumpkin butter with the remaining chocolate to fill each mold to the top, creating a beautiful two-layer effect.
Step 4: Chill and Set
Place the filled mold into the fridge and let it chill for at least one hour, allowing the chocolate to harden and the flavors to meld. Once fully set, carefully pop your Chocolate Pumpkin Butter Cups out of the mold, ready to enjoy immediately or store for later.
How to Serve Chocolate Pumpkin Butter Cups
Garnishes
Elevate your presentation by sprinkling a pinch of flaky sea salt or a dusting of cinnamon on top of each cup. You could also add finely chopped toasted pecans or a swirl of coconut cream for an elegant touch that pairs perfectly with the pumpkin’s spice.
Side Dishes
While these cups shine as a treat on their own, they also pair wonderfully with a warm chai latte or a creamy nut milk. For a heartier dessert course, offer alongside spiced applesauce or a scoop of dairy-free vanilla ice cream to complement the chocolate pumpkin flavors.
Creative Ways to Present
Try serving your Chocolate Pumpkin Butter Cups nestled in mini cupcake liners for a festive look. Gift them in a decorative box or jar tied with rustic twine to share these fall delights with friends and family. You can also layer them in a dessert platter with other autumn-inspired sweets for a stunning seasonal spread.
Make Ahead and Storage
Storing Leftovers
If you have any leftovers (which might be hard to believe), store them in an airtight container in the refrigerator. The chocolate will remain firm, and the pumpkin butter will keep fresh for up to one week, making them a convenient grab-and-go snack.
Freezing
Want to keep these treats longer? Freeze the butter cups in a single layer on a baking sheet, then transfer to a resealable freezer bag. They freeze beautifully for up to three months and can be thawed in the fridge overnight before serving.
Reheating
Since these treats are best enjoyed cool, avoid microwaving. If you prefer the pumpkin filling a little softer, let them sit at room temperature for 10 minutes before eating to soften the texture without melting the chocolate shell.
FAQs
Can I use canned pumpkin puree for these butter cups?
Absolutely! Just make sure to use plain, unsweetened pumpkin puree for the best flavor and texture in your pumpkin butter.
Is it possible to make these cups nut-free?
Yes, by choosing dairy-free and nut-free chocolate chips and ensuring your other ingredients are nut-free, this recipe easily fits nut-free diets.
Can I substitute maple syrup with another sweetener?
You can use honey or agave syrup as alternatives, though maple syrup offers a subtle richness that complements the spices perfectly.
What is the best way to melt the chocolate?
The double boiler method is ideal to gently melt chocolate without burning it, giving you a smooth, glossy consistency perfect for molding.
How long should the Chocolate Pumpkin Butter Cups be chilled?
At least one hour in the fridge is necessary to let the chocolate fully set and the flavors meld beautifully.
Final Thoughts
There is something incredibly satisfying about homemade Chocolate Pumpkin Butter Cups that you just can’t find in stores. Enjoying these little bites of comfort brings the spirit of autumn right to your kitchen with their cozy flavors and velvety textures. I can’t wait for you to try making them and share in the joy they bring—once you do, they’ll surely become a treasured favorite too!
PrintChocolate Pumpkin Butter Cups Recipe
These Chocolate Pumpkin Butter Cups combine the rich, velvety taste of dairy-free chocolate with a smooth, spiced pumpkin butter filling. Perfect for seasonal treats, they offer a dairy-free, gluten-free snack that’s both indulgent and wholesome, infused with warm autumn spices and natural maple sweetness.
- Prep Time: 10 minutes
- Cook Time: 10 minutes
- Total Time: 1 hour 20 minutes
- Yield: 12 cups 1x
- Category: Dessert, Snack
- Method: No-bake, Double Boiler Melting, Refrigeration
- Cuisine: American
- Diet: Vegan
Ingredients
Pumpkin Butter Filling
- ⅓ cup pumpkin puree
- ½ tsp vanilla bean powder (or substitute with vanilla extract)
- 1 tbsp maple syrup
- 1 tsp cinnamon
- ½ tsp nutmeg (or substitute with mace for AIP)
Chocolate Coating
- 1 ½ cups dairy-free chocolate chips (use AIP-compliant variety if needed)
- 1 tbsp coconut oil
- ¼ tsp salt
Instructions
- Prepare the Pumpkin Butter: In a bowl, thoroughly mix together the pumpkin puree, vanilla bean powder (or vanilla extract), maple syrup, cinnamon, and nutmeg (or mace). Stir until the mixture is smooth and evenly combined. Set this pumpkin butter aside for later use.
- Melt the Chocolate Mixture: Using a double boiler setup, melt the dairy-free chocolate chips along with the coconut oil and salt. Stir continuously until the chocolate is completely melted and smooth without any lumps.
- Fill the Molds – First Layer: Pour the melted chocolate mixture into silicone candy cup molds, filling each about halfway. This will be the base layer for the cups.
- Add Pumpkin Butter Filling: Spoon approximately ½ tablespoon of the prepared pumpkin butter onto the chocolate layer in each mold. Adjust the amount based on mold size, ensuring there is still room to top with another layer of chocolate.
- Seal with Chocolate: Pour the remaining melted chocolate mixture over the pumpkin butter filling in each mold, filling to the top to properly seal the pumpkin center inside.
- Chill and Set: Place the filled mold into the refrigerator and chill for at least one hour, or until the chocolate has fully hardened and the cups easily release from the mold.
- Serve or Store: Carefully pop the pumpkin butter cups out of the molds. Enjoy immediately, or store them in the refrigerator for up to one week to maintain freshness and texture.
Notes
- Using a silicone candy mold makes it easier to release the cups once set.
- You can substitute vanilla bean powder with vanilla extract for convenience.
- For an AIP-compliant version, substitute nutmeg with mace and use AIP-friendly chocolate chips.
- Store the finished cups in the refrigerator for optimal freshness.
- Adjust the size of pumpkin butter dollops according to desired filling thickness but ensure enough space remains for the chocolate coating.
Nutrition
- Serving Size: 1 cup (approx. 20g)
- Calories: 110 kcal
- Sugar: 8g
- Sodium: 30mg
- Fat: 7g
- Saturated Fat: 5g
- Unsaturated Fat: 2g
- Trans Fat: 0g
- Carbohydrates: 12g
- Fiber: 2g
- Protein: 1g
- Cholesterol: 0mg
Keywords: pumpkin butter cups, dairy-free chocolate cups, vegan dessert, pumpkin chocolate treat, Halloween dessert, fall recipe, gluten-free pumpkin treat