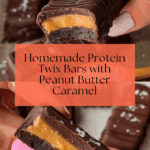
Protein Twix Bars Recipe
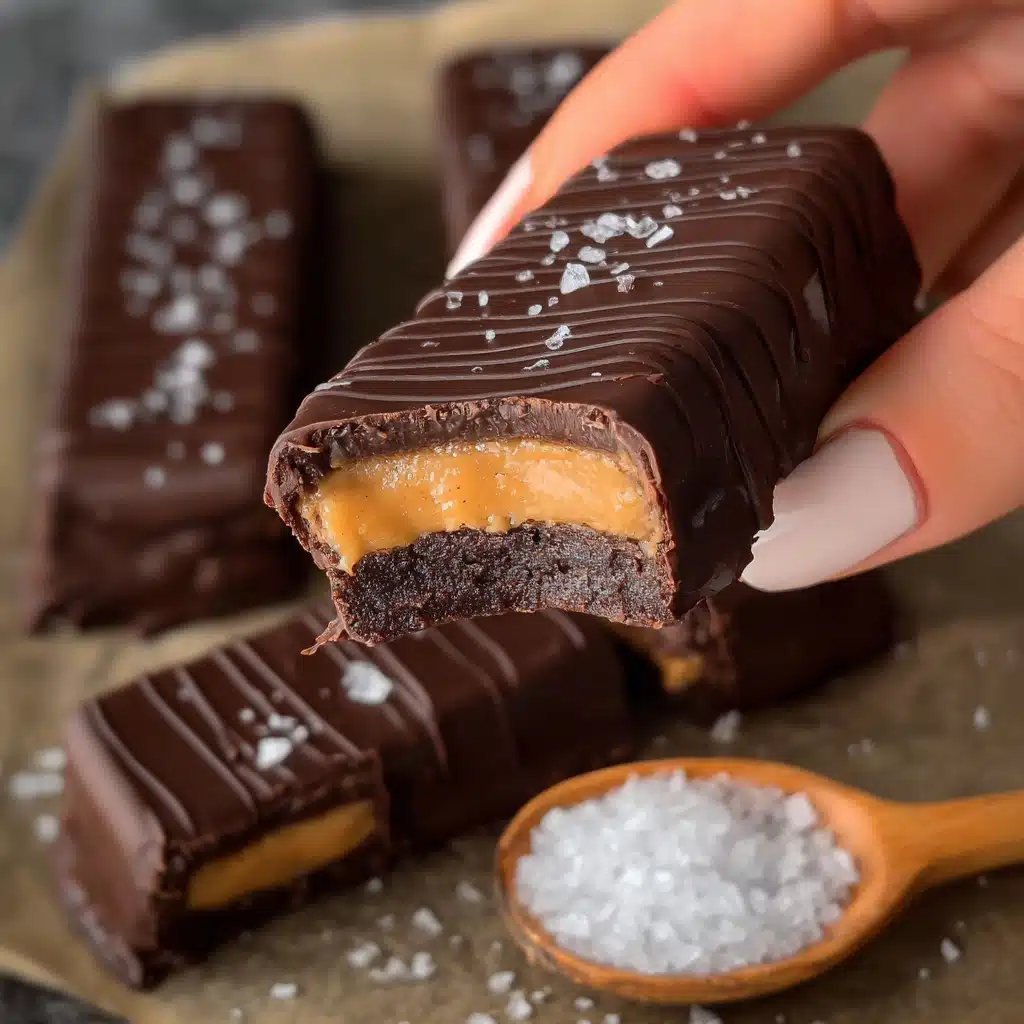
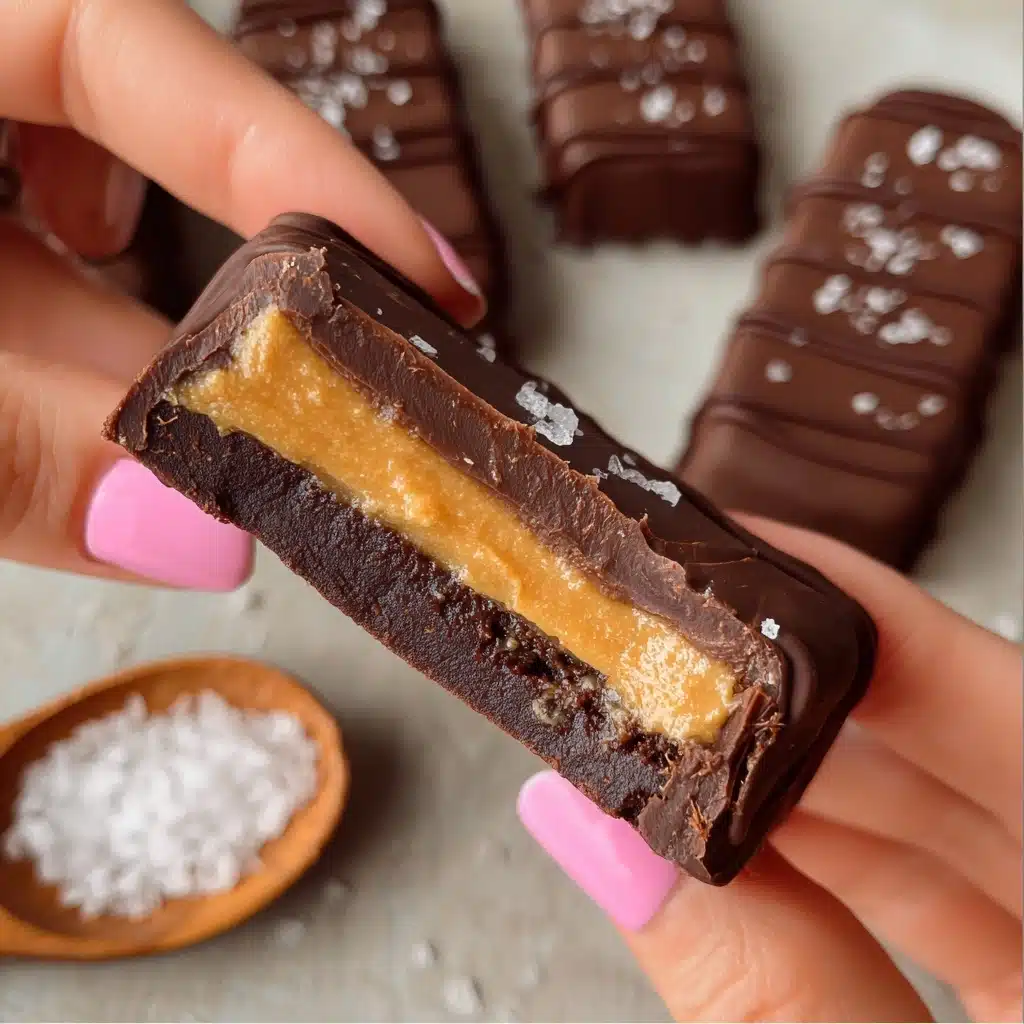
If you have a sweet tooth but also love fueling your body with something wholesome, these Protein Twix Bars are a game changer. Combining a buttery almond shortbread base with a luscious peanut butter caramel and a rich dark chocolate coating, these bars bring all the nostalgic joy of classic Twix with an energizing, protein-packed twist. Each bite delivers a perfect balance of flavors and textures that will keep you coming back for more, whether as a post-workout treat or a delightful snack to satisfy cravings without guilt.
Ingredients You’ll Need
Creating these Protein Twix Bars is wonderfully simple, relying on just a handful of quality ingredients. Each one plays an essential role, from the nutty almond flour that forms the sturdy shortbread base to the creamy peanut butter caramel that melts in your mouth, and finally the intense dark chocolate that ties it all together with a silky finish.
- Almond Flour: Provides a naturally gluten-free and nutty base for the shortbread, adding great texture and flavor.
- Vanilla Protein Powder or Oat Flour: Adds protein for muscle support and moisture to keep the base tender and wholesome.
- Pure Maple Syrup: A natural sweetener that lightly binds the shortbread and caramel layers with subtle complexity.
- Coconut Oil (Melted): Brings moisture and richness, helping the bars set with a smooth finish.
- Creamy Peanut Butter (or Cashew Butter): The star of the caramel layer, offering creaminess, healthy fats, and that irresistible nutty flavor.
- Collagen (2 scoops): Boosts protein content and adds a bit of chewiness to the caramel layer.
- Pure Vanilla Extract: Enhances all the layers with warm, fragrant notes.
- Dark Chocolate: Creates the final indulgent coating, rich in antioxidants and flavor.
- Flaky Sea Salt (optional): Elevates the chocolate coating with a touch of savory contrast.
How to Make Protein Twix Bars
Step 1: Prepare the Shortbread Base
Start by mixing the almond flour, vanilla protein powder or oat flour, pure maple syrup, and melted coconut oil in a bowl. Combine everything thoroughly until the mixture holds together like a soft dough. Press this evenly into an 8×8 inch dish lined with parchment paper. This forms the sturdy and buttery foundation of your bars. Pop the tray into the freezer to firm up while you prepare the next layer, which makes the whole process smooth and mess-free.
Step 2: Make the Caramel Layer
In another bowl, mix creamy peanut butter (or cashew butter), maple syrup, melted coconut oil, collagen powder, and vanilla extract until everything is smooth and luscious. This mixture becomes the dreamy caramel topping. Once combined, pour it evenly over the chilled shortbread base and return the dish to the freezer for at least an hour. This step is key to creating that perfect chewy caramel consistency you’re craving.
Step 3: Coat with Chocolate
After your caramel layer is nicely set, melt dark chocolate together with coconut oil until silky and glossy. Slice your prepared bars into either 10 larger bars or 20 smaller squares, depending on your portion preference. Then dip each bar individually into the melted chocolate, making sure they’re fully coated. Allow any excess chocolate to drip off before placing them on parchment paper. For an extra-special touch, sprinkle a pinch of flaky sea salt on top while the chocolate is still soft. Pop the bars into the fridge for about 10 minutes to harden the chocolate shell perfectly.
How to Serve Protein Twix Bars
Garnishes
Sprinkling flaky sea salt over the chocolate coating amplifies the flavor layers by balancing sweetness with a savory crunch. You could also add crushed nuts or a tiny drizzle of more peanut butter on top for added texture and flair, bringing a personalized touch to your Protein Twix Bars.
Side Dishes
These bars are fantastic on their own as a snack or treat, but pairing them with a fresh, crisp fruit salad or a cup of unsweetened almond milk makes for a delightful combination. The fresh fruit adds brightness and lightness that offset the rich bars perfectly.
Creative Ways to Present
Wrap individual bars in parchment paper tied with twine to gift friends or enjoy on-the-go. Another fun idea is to serve them alongside small bowls of mixed nuts and berries on a brunch board, creating a protein-packed indulgent spread that will impress any crowd.
Make Ahead and Storage
Storing Leftovers
Protein Twix Bars keep beautifully in an airtight container in the fridge for up to one week. This keeps the layers firm and the chocolate coating crack-free while preserving that fresh, homemade flavor you love.
Freezing
If you want to prepare these bars well in advance, simply freeze them in a sealed container lined with parchment paper between layers. They freeze well for up to three months. When ready, thaw in the fridge overnight for perfect texture and taste.
Reheating
These bars are best enjoyed cold or at room temperature to maintain their ideal texture. If you prefer them slightly softer, leave them out for 10–15 minutes before eating. Avoid microwaving to prevent melting the chocolate coating unevenly.
FAQs
Can I substitute peanut butter with another nut butter?
Absolutely! Cashew, almond, or sunflower seed butter all work well and bring slightly different flavors. Just choose creamy varieties for the best caramel texture.
Is it necessary to use collagen powder?
Collagen adds protein and helps the caramel layer set nicely, but you can omit it or replace it with a neutral protein powder if preferred. The bars might be a bit softer without collagen.
Can these bars be made vegan?
Yes! Use a plant-based protein powder and replace collagen with a vegan alternative or additional protein powder. Also, choose a dark chocolate that is dairy-free.
What if I don’t have almond flour?
You can swap almond flour for oat flour or another finely ground nut flour. Just note the texture and flavor may change slightly.
How long do these bars last at room temperature?
Because of the coconut oil and nut butter, it’s best to store Protein Twix Bars in the fridge. At room temperature, they may become too soft or spoil after a day or two.
Final Thoughts
These Protein Twix Bars combine the best of both worlds—comforting sweetness and nourishing protein—in a way that feels like a treat, not a chore to eat healthy. I can’t wait for you to try making them yourself and discover how delightfully easy it is to satisfy your cravings without straying from your wellness goals. Trust me, these bars will quickly become a favorite snack to keep on hand for whenever you need a little boost or just a delicious bite of happiness.
PrintProtein Twix Bars Recipe

These Protein Twix Bars are a healthier twist on the classic candy bar, combining a nutty almond flour shortbread base with a creamy peanut butter caramel layer, all coated in rich dark chocolate. Packed with protein from collagen and protein powder, they make a perfect nutritious snack or dessert that satisfies your sweet tooth without the guilt.
- Prep Time: 15 minutes
- Cook Time: 0 minutes
- Total Time: 1 hour 15 minutes
- Yield: 10 bars or 20 squares 1x
- Category: Snack, Dessert
- Method: No-Bake, Freezing, Dipping
- Cuisine: American
- Diet: Low Fat
Ingredients
Shortbread
- 2 cups Almond Flour
- 1/2 cup Vanilla Protein Powder (or oat flour)
- 1/4 cup Pure Maple Syrup
- 1/4 cup Coconut Oil, melted
Caramel
- 2/3 cup Creamy Peanut Butter (or cashew butter)
- 1/3 cup Pure Maple Syrup
- 2 tbsp Coconut Oil, melted
- 2 whole scoops Collagen Powder
- 1 tsp Pure Vanilla Extract
Coating
- 2 cups Dark Chocolate
- 2 tsp Coconut Oil
Instructions
- Prepare Shortbread Base: Combine almond flour, vanilla protein powder (or oat flour), pure maple syrup, and melted coconut oil in a bowl until the mixture forms a dough. Press this evenly into an 8×8 inch dish lined with parchment paper. Place the dish in the freezer to firm up while you prepare the caramel layer.
- Make Caramel Layer: In a separate bowl, mix creamy peanut butter, pure maple syrup, melted coconut oil, collagen powder, and pure vanilla extract until smooth and creamy. Pour this caramel mixture over the frozen shortbread base and spread evenly. Return the dish to the freezer for at least 1 hour to set.
- Melt Chocolate Coating: Gently melt the dark chocolate together with the coconut oil using a double boiler or microwave in short bursts, stirring frequently until smooth. You want enough chocolate to fully coat the bars.
- Slice Bars: Remove the set layers from the freezer and cut into 10 bars or 20 smaller squares, depending on your preferred size.
- Dip in Chocolate: Dip each bar or square into the melted chocolate, allowing any excess to drip off. Place the coated bars on parchment paper. Optionally, sprinkle with flaky sea salt for added flavor.
- Set Coating: Place the coated bars in the fridge for about 10 minutes to let the chocolate harden completely.
- Enjoy & Store: Once set, enjoy your protein-packed Twix bars! Store any leftovers in the fridge to keep fresh and firm.
Notes
- You can substitute oat flour for protein powder if preferred.
- If you want a nut-free option, use sunflower seed butter instead of peanut or cashew butter.
- Keep the bars refrigerated to maintain texture and freshness.
- For a vegan version, use plant-based collagen alternatives or omit collagen powder completely.
- Flaky sea salt on top enhances the flavor by balancing sweetness with a subtle salty touch.
Nutrition
- Serving Size: 1 bar (if 10 bars total)
- Calories: 230
- Sugar: 9g
- Sodium: 45mg
- Fat: 16g
- Saturated Fat: 9g
- Unsaturated Fat: 6g
- Trans Fat: 0g
- Carbohydrates: 14g
- Fiber: 3g
- Protein: 9g
- Cholesterol: 15mg
Keywords: protein twix bars, healthy twix recipe, no bake protein bars, peanut butter caramel bars, dark chocolate snack