Cream Cheese Oreo Protein Balls Recipe
Introduction
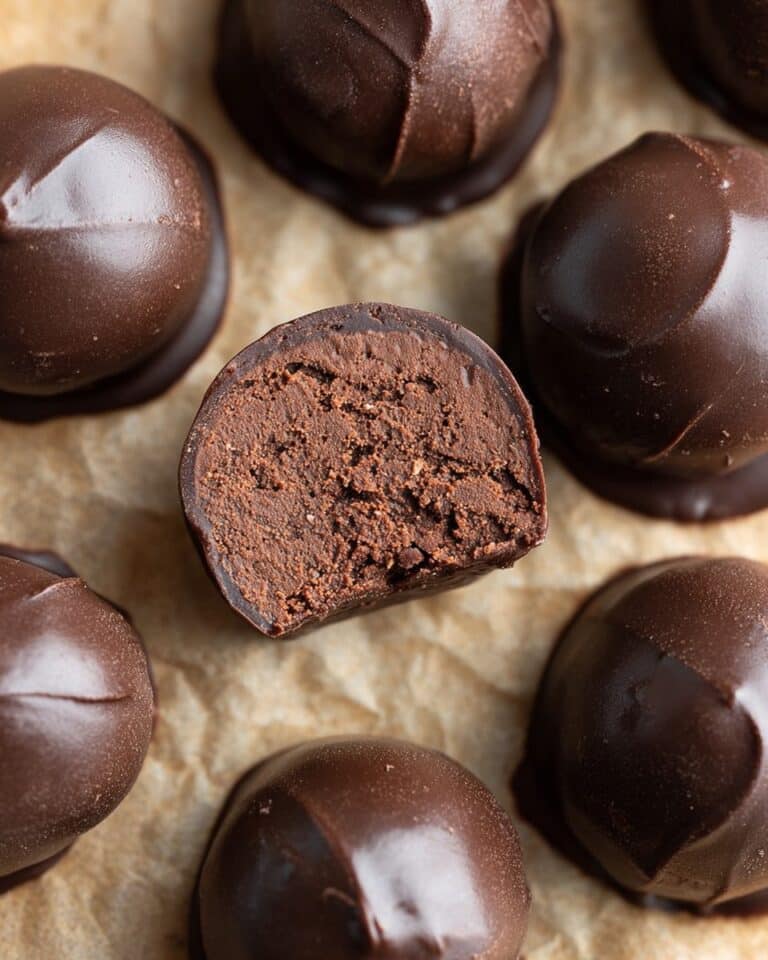
These Cream Cheese Oreo Protein Balls are a perfect guilt-free snack that combines indulgent flavors with nutritious ingredients. Creamy, chocolatey, and packed with protein, they’re ideal for a quick energy boost or a satisfying treat any time of day.

Ingredients
- 1 cup of protein powder (vanilla or chocolate)
- 4 oz of cream cheese (softened)
- 10 Oreo cookies (crushed)
- 2 tablespoons of almond butter
- 2 tablespoons of honey or maple syrup
- 1–2 tablespoons of milk (optional)
Instructions
- Step 1: Crush the Oreos by placing them in a resealable plastic bag and breaking them into fine crumbs using a rolling pin or a food processor for a finer texture.
- Step 2: In a large bowl, mix the softened cream cheese, protein powder, crushed Oreos, almond butter, and honey or maple syrup until you get a smooth, slightly sticky dough. Add 1 to 2 tablespoons of milk if the mixture is too thick.
- Step 3: Scoop small portions of the mixture and roll them into 1-inch bite-sized balls. If the dough feels too sticky, chill it in the refrigerator for 10–15 minutes before shaping.
- Step 4: Arrange the balls on a parchment-lined baking sheet and refrigerate for at least 30 minutes to set.
- Step 5: Store the protein balls in an airtight container in the refrigerator and enjoy when ready.
Tips & Variations
- For extra crunch, add chopped nuts or seeds to the mixture before shaping.
- Use peanut butter instead of almond butter for a different nutty flavor.
- If you want a sweeter snack, increase the honey or maple syrup slightly, but adjust to taste.
- Try rolling the balls in crushed Oreos or cocoa powder after shaping for added texture.
Storage
Keep the protein balls stored in an airtight container in the refrigerator for up to one week. To enjoy, eat chilled or let them sit at room temperature for a few minutes. No reheating needed, as they’re best served cool and firm.
How to Serve
Serve this delicious recipe with your favorite sides.
FAQs
Can I use a different type of cookie instead of Oreos?
Yes, you can substitute Oreos with other chocolate sandwich cookies or even crushed graham crackers for a different flavor and texture.
What if I don’t have protein powder? Can I still make these?
Protein powder is key to the texture and nutrition of these balls, but if you don’t have any, you can try substituting with oat flour or ground nuts, though the protein content will be lower and the texture slightly different.
PrintCream Cheese Oreo Protein Balls Recipe

Cream Cheese Oreo Protein Balls are a delicious and nutritious snack combining protein powder, creamy softened cream cheese, crunchy crushed Oreos, almond butter, and natural sweeteners. These bite-sized treats provide a perfect balance of indulgence and health, ideal for guilt-free snacking or a post-workout boost.
- Prep Time: 10 minutes
- Cook Time: 0 minutes
- Total Time: 40 minutes
- Yield: 12–15 protein balls 1x
- Category: Snack
- Method: No-Cook
- Cuisine: American
- Diet: Low Fat
Ingredients
Ingredients
- 1 cup protein powder (vanilla or chocolate)
- 4 oz cream cheese, softened
- 10 Oreo cookies, crushed
- 2 tablespoons almond butter
- 2 tablespoons honey or maple syrup
- 1–2 tablespoons milk (optional)
Instructions
- Crush the Oreos: Place the Oreo cookies in a resealable plastic bag and crush them into fine crumbs using a rolling pin or pulse in a food processor for a finer texture.
- Mix the ingredients: In a large mixing bowl, combine the softened cream cheese, protein powder, crushed Oreos, almond butter, and honey or maple syrup. Stir thoroughly until smooth and slightly sticky. If the mixture is too thick, gradually add 1-2 tablespoons of milk to reach a workable consistency.
- Shape the balls: Using your hands, scoop small portions and roll them into 1-inch diameter bite-sized balls. If the dough is sticky and hard to handle, chill for 10-15 minutes in the refrigerator to firm up before rolling.
- Chill and set: Place the shaped protein balls on a parchment-lined baking sheet and refrigerate for at least 30 minutes to allow them to firm and set properly.
- Store and enjoy: After chilling, store the protein balls in an airtight container in the refrigerator. Consume within one week for peak freshness and flavor.
Notes
- If the mixture is too sticky, chilling it before rolling will help.
- You can substitute almond butter with peanut butter if preferred.
- Use maple syrup instead of honey to keep the snack vegan-friendly.
- The protein balls can be stored in the freezer for up to one month; thaw in the fridge before eating.
- Adjust protein powder flavor to suit taste—vanilla or chocolate works best.
Keywords: protein balls, cream cheese snacks, Oreo protein balls, healthy snacks, no bake protein balls, almond butter snacks, guilt-free snacking