Espresso Shortbread Cookies with Toffee Chunks Recipe
Introduction
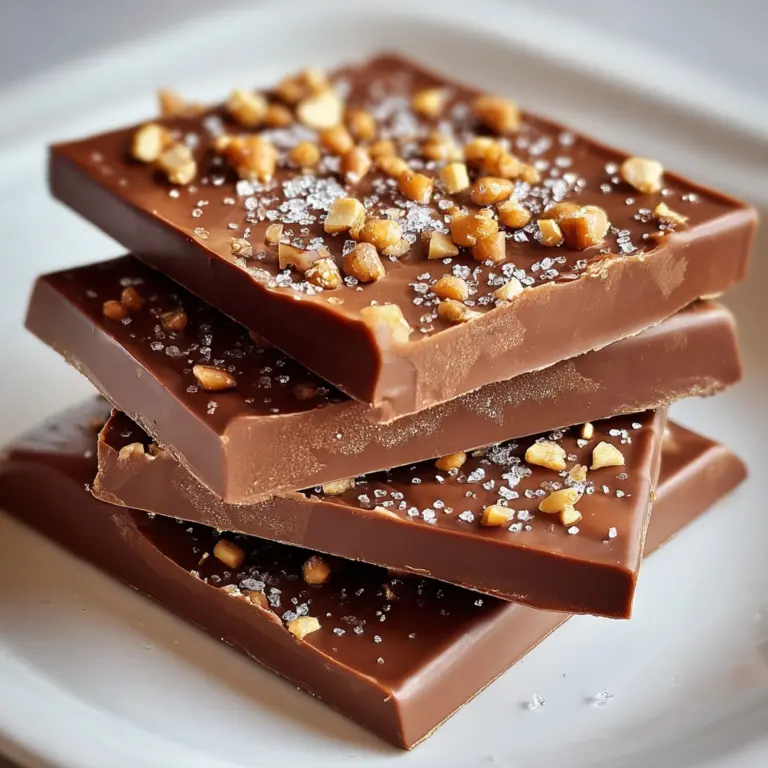
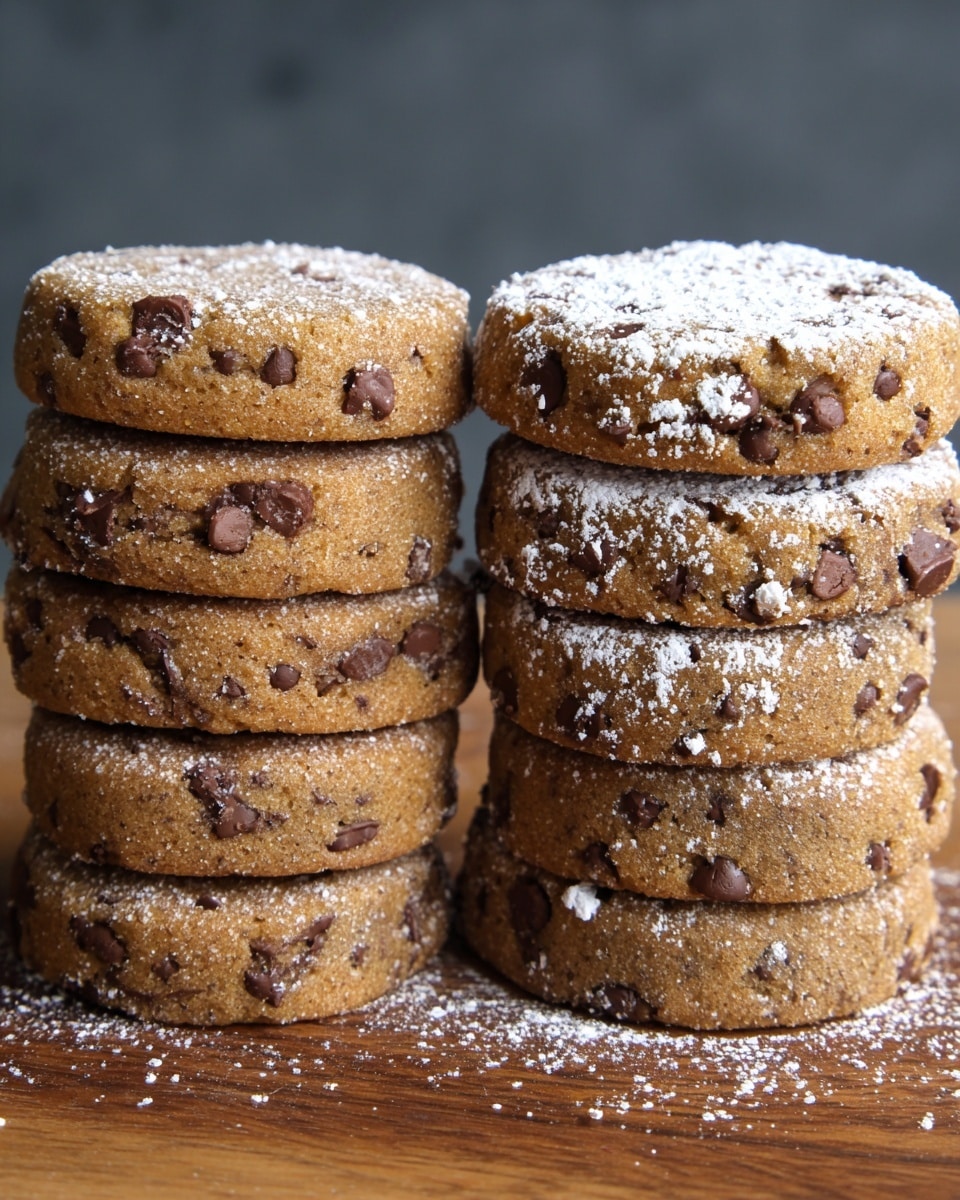
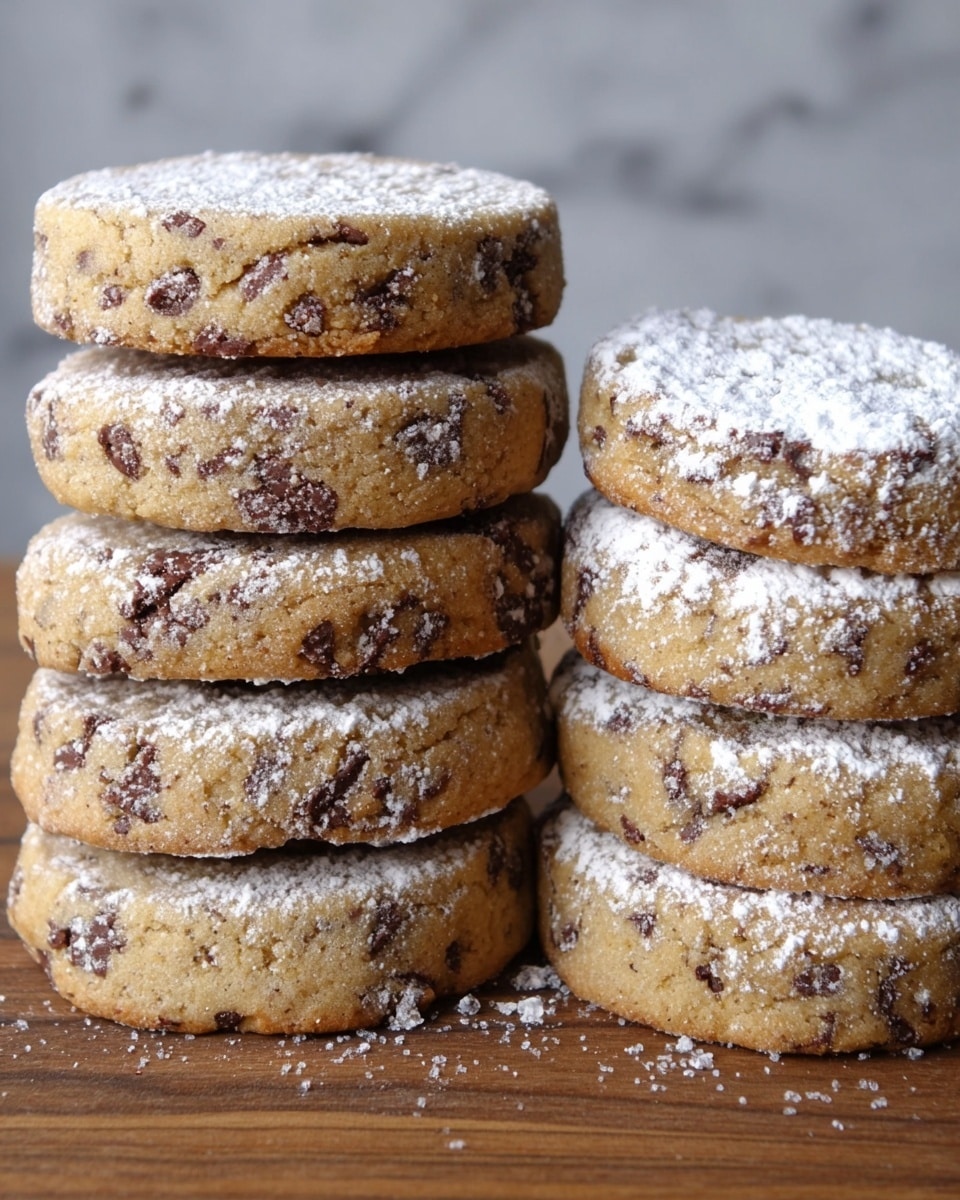
Espresso Shortbread Cookies are buttery, tender treats with a rich coffee flavor and delightful toffee crunch. Perfect for coffee lovers, these cookies combine espresso and chocolate-covered toffee for a unique twist on classic shortbread.
Ingredients
- 1 tablespoon instant espresso powder
- 1 tablespoon boiling water
- 1 cup unsalted butter, room temperature
- 2/3 cup confectioners’ sugar, plus extra for dusting
- ½ teaspoon vanilla extract
- 2 cups all-purpose flour
- 1 chocolate covered toffee bar (3.5-4 ounces), finely chopped
Instructions
- Step 1: In a very small bowl, dissolve the espresso powder in the boiling water.
- Step 2: In the bowl of an electric mixer, beat the butter and 2/3 cup confectioners’ sugar for 3 minutes at medium speed until light and creamy.
- Step 3: Add the vanilla extract and the dissolved espresso, then beat until fully incorporated.
- Step 4: Gradually add the flour and mix on low speed just until combined.
- Step 5: Fold in the finely chopped chocolate covered toffee bar.
- Step 6: Transfer the dough into a gallon-size zipper-lock plastic bag without sealing it.
- Step 7: Roll the dough inside the bag into a rectangle about 9” by 11” and ¼” thick, smoothing out any wrinkles to avoid creases in the dough.
- Step 8: Zip the bag closed, pressing out as much air as possible, then refrigerate for at least 2 hours and up to 2 days.
- Step 9: When ready to bake, preheat the oven to 325°F. Line a baking sheet with parchment paper.
- Step 10: Remove the dough from the refrigerator, cut open the bag, and place the dough rectangle on a cutting board.
- Step 11: Use a sharp knife or cookie cutter to cut into desired shapes and transfer the cookies to the prepared baking sheet.
- Step 12: Use a fork to gently poke holes in each cookie to prevent puffing.
- Step 13: Bake for 18-20 minutes until the edges are lightly golden.
- Step 14: While still warm, dust the cookies with confectioners’ sugar.
- Step 15: Let the cookies cool completely on a wire rack before storing.
- Step 16: Store at room temperature in an airtight container for up to 3 weeks.
Tips & Variations
- Substitute the chocolate covered toffee with chocolate chips and crushed toffee bits for added texture.
- Use dark roast espresso powder for a stronger coffee flavor.
- Chill the dough longer for firmer cookies that are easier to cut.
- For a festive touch, dip half the cooled cookies in melted chocolate and let them set.
Storage
Store these cookies in an airtight container at room temperature for up to 3 weeks. To keep them fresh, place parchment paper between layers. Reheat briefly in a low oven if you prefer them warm, but they are delicious at room temperature.
How to Serve
Serve this delicious recipe with your favorite sides.
FAQs
Can I use regular brewed espresso instead of instant espresso powder?
Instant espresso powder is preferred because it dissolves completely and doesn’t add extra moisture. If you only have brewed espresso, reduce other liquids slightly to compensate.
What if I don’t have a plastic bag for rolling the dough?
You can roll the dough between two sheets of parchment paper instead. This helps keep the dough from sticking and makes it easy to transfer once rolled out.
PrintEspresso Shortbread Cookies with Toffee Chunks Recipe

These Espresso Shortbread Cookies combine the rich, robust flavor of espresso with buttery, melt-in-your-mouth shortbread, enhanced by bits of chocolate-covered toffee for a delightful crunch. Perfect for coffee lovers, these cookies offer a sophisticated treat that’s both easy to prepare and irresistibly delicious.
- Prep Time: 15 minutes
- Cook Time: 18-20 minutes
- Total Time: 2 hours 35 minutes (including chilling time)
- Yield: Approximately 24 cookies 1x
- Category: Dessert
- Method: Baking
- Cuisine: American
Ingredients
Espresso Mixture
- 1 tablespoon instant espresso powder
- 1 tablespoon boiling water
Cookie Dough
- 1 cup unsalted butter, room temperature
- 2/3 cup confectioners’ sugar, plus extra for dusting
- 1/2 teaspoon vanilla extract
- 2 cups all-purpose flour
- 1 chocolate covered toffee bar (3.5–4 ounces), finely chopped
Instructions
- Dissolve Espresso Powder: In a very small bowl, dissolve the instant espresso powder in the boiling water to create a smooth espresso mixture.
- Cream Butter and Sugar: Using an electric mixer, beat the room temperature unsalted butter and confectioners’ sugar together at medium speed for 3 minutes until light and fluffy.
- Add Flavors: Add the vanilla extract and the prepared espresso mixture to the butter-sugar mix and continue beating until well incorporated.
- Incorporate Flour: Gradually add the all-purpose flour to the mixture and blend at low speed just until combined to form the dough.
- Fold in Toffee: Gently fold in the finely chopped chocolate-covered toffee bar pieces, ensuring even distribution.
- Shape Dough: Transfer the dough into a gallon-size zipper-lock plastic bag without sealing it. Roll the dough in the bag into a rectangle approximately 9 inches by 11 inches and 1/4 inch thick, smoothing out any creases or wrinkles in the plastic.
- Refrigerate: Seal the bag, pressing out as much air as possible, and refrigerate the dough for at least 2 hours and up to 2 days to firm up.
- Preheat Oven and Prepare Baking Sheet: When ready to bake, preheat the oven to 325°F (163°C) and line a baking sheet with parchment paper.
- Cut Cookies: Remove the dough from the refrigerator, open the plastic bag, and carefully place the dough rectangle onto a cutting board. Use a sharp knife or cookie cutters to cut the dough into desired shapes.
- Prepare for Baking: Transfer the cut cookies to the prepared baking sheet, then use a fork to poke holes in each cookie to help them bake evenly.
- Bake: Bake the cookies in the preheated oven for 18 to 20 minutes until lightly golden around the edges.
- Dust and Cool: While still hot, dust the cookies generously with confectioners’ sugar. Then transfer them to a wire rack to cool completely.
- Store: Once cooled, store the shortbread cookies in an airtight container at room temperature. They will keep fresh for at least 3 weeks.
Notes
- Be sure the butter is at room temperature for easier creaming with the sugar.
- Rolling the dough inside a plastic bag minimizes mess and prevents sticking.
- Chilling the dough is essential to keep the cookies from spreading during baking.
- If you don’t have a chocolate covered toffee bar, you can substitute with chocolate chips and toffee bits separately.
- Use a fork to poke holes in the cookies to help them bake evenly and maintain their shape.
- Dusting with confectioners’ sugar immediately after baking gives a delicate, sweet finish.
Keywords: espresso shortbread cookies, coffee-flavored cookies, buttery shortbread, chocolate toffee cookies, easy dessert, holiday cookies