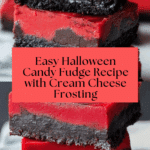
Black and Red Halloween Candy Melt Fudge Recipe
Introduction
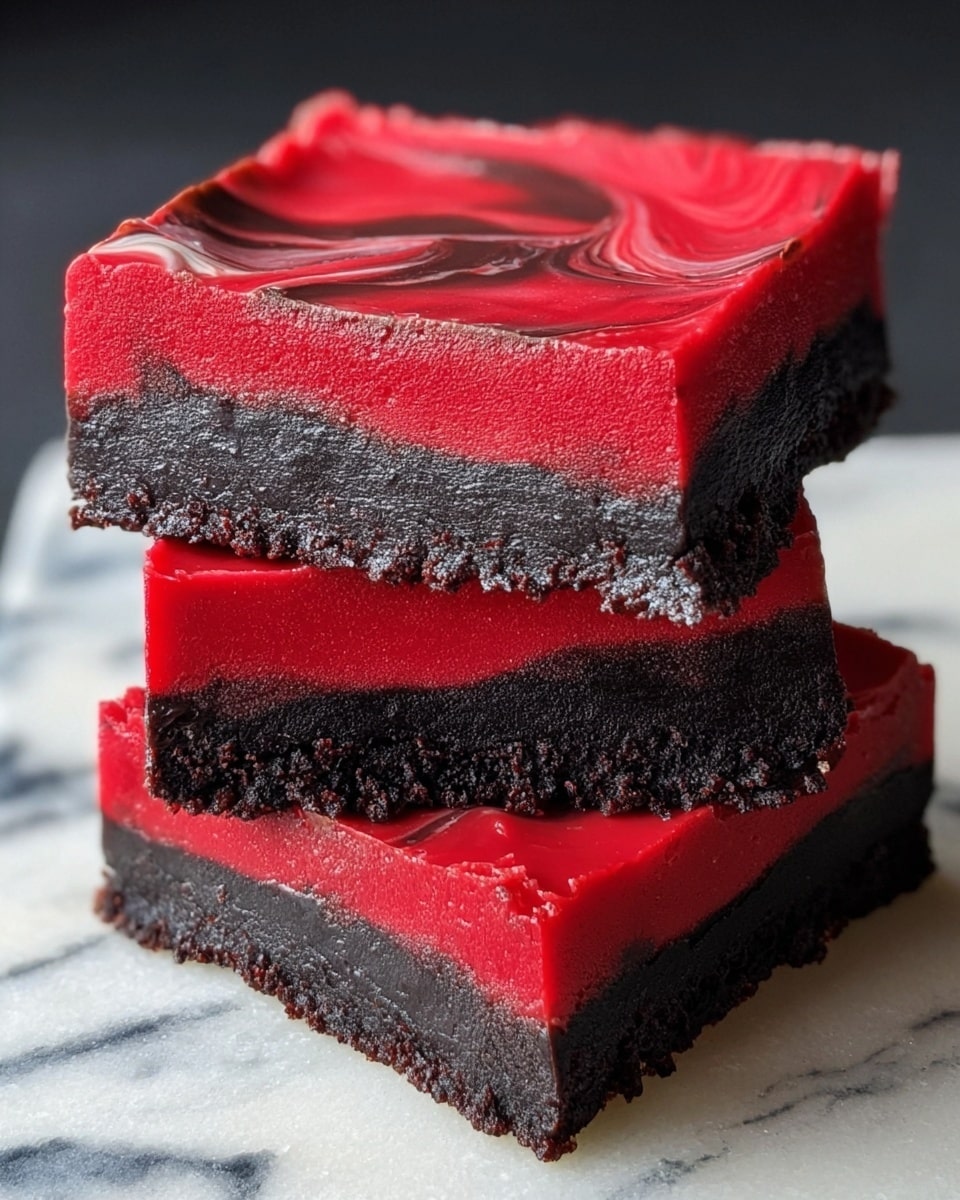
This Halloween-inspired layered fudge combines creamy cream cheese frosting with vibrant black and red candy melts for a fun and festive treat. Easy to prepare and visually striking, it’s perfect for parties or spooky celebrations.

Ingredients
- 16 oz cream cheese frosting
- 1 cup black candy melts
- 1 cup red candy melts
Instructions
- Step 1: Lightly grease an 8″ x 8″ cake pan and line it with parchment paper in a cross (+) shape. Set aside.
- Step 2: Place the black candy melts in a microwave-safe bowl, and the red candy melts in a separate microwave-safe bowl.
- Step 3: Microwave each bowl of candy melts individually on high for 2 minutes, stirring every 30 seconds to ensure the candy melts smoothly without burning.
- Step 4: Microwave the cream cheese frosting for 45 seconds without stopping until warmed through.
- Step 5: Pour half of the warmed frosting into each bowl of melted candy, stirring vigorously until fully combined and smooth.
- Step 6: Alternate pouring the black and red mixtures into the prepared pan, layering the colors until all the mixture is used.
- Step 7: Tap the pan gently to even out the fudge layers. Refrigerate for 4 hours or until fully set.
- Step 8: Once set, lift the fudge from the pan using the parchment paper ends, place on a cutting board, and cut into 25 or 36 squares.
- Step 9: Serve immediately or store leftovers in an airtight container in the refrigerator.
Tips & Variations
- Use candy melts in different colors to create your own festive layers, such as orange and purple for more Halloween fun.
- Adding a pinch of sea salt on top before setting enhances the sweetness and adds a lovely contrast.
- Allow the candy melts to cool slightly before mixing with frosting to avoid a runny final texture.
Storage
Store leftover fudge in an airtight container in the refrigerator for up to one week. When ready to serve, let it sit at room temperature for a few minutes to soften slightly before enjoying.
How to Serve
Serve this delicious recipe with your favorite sides.
FAQs
Can I use store-bought frosting for this recipe?
Yes, store-bought cream cheese frosting works perfectly and saves preparation time.
What if I don’t have an 8″ x 8″ pan?
You can use a similar-sized pan or adjust the layer thickness if using a slightly larger or smaller pan. Just keep an eye on setting time.
PrintBlack and Red Halloween Candy Melt Fudge Recipe

This Halloween-themed no-bake fudge recipe combines creamy cream cheese frosting with melted black and red candy melts to create striking layered squares. Perfect for festive parties, this easy-to-make dessert requires no baking and sets in the refrigerator, delivering a rich and colorful treat with minimal effort.
- Prep Time: 15 minutes
- Cook Time: 4 minutes
- Total Time: 4 hours 19 minutes
- Yield: 25 to 36 squares 1x
- Category: Dessert
- Method: No-Cook
- Cuisine: American
Ingredients
Frosting
- 16 oz cream cheese frosting
Candy Melts
- 1 cup black candy melts
- 1 cup red candy melts
Instructions
- Prepare Pan: Lightly grease an 8″ x 8″ cake pan and line it with parchment paper in a cross (+) shape to ensure easy removal of the fudge later. Set aside the prepared pan.
- Melt Black Candy: Place the black candy melts in a microwave-safe bowl, ready for melting.
- Melt Red Candy: Place the red candy melts in a separate microwave-safe bowl.
- Microwave Candy: Microwave each bowl of candy melts individually on high for 2 minutes, stirring every 30 seconds to prevent burning and ensure smooth melting.
- Warm Frosting: Microwave the cream cheese frosting for 45 seconds without stopping to gently warm it and make it easier to combine with the melted candy.
- Mix Ingredients: Pour half of the warmed frosting into each bowl of melted candy and stir vigorously until the mixture is fully combined, creating smooth and colorful layers.
- Create Layers: Alternate pouring each colored mixture into the prepared pan, layering the black and red fudge mixtures until all is used, creating a festive marbled effect.
- Set Fudge: Tap the pan gently to even out the fudge surface and refrigerate for 4 hours or until completely set and firm.
- Cut And Serve: Lift the fudge out of the pan by using the ends of the parchment paper, place it on a cutting board, and cut into 25 or 36 squares depending on preferred serving size.
- Store: Serve immediately or store the leftover fudge in an airtight container in the refrigerator to maintain freshness.
Notes
- Be sure to stir the candy melts every 30 seconds while microwaving to prevent burning and uneven melting.
- Warming the frosting is essential for smooth blending with the melted candy melts.
- Use the parchment paper overhang to easily lift the fudge out of the pan for cutting.
- Store leftovers in the fridge for up to one week for best taste and texture.
- The recipe yields between 25 and 36 pieces depending on how large you cut the squares.
Keywords: Halloween dessert, fudge recipe, no bake fudge, candy melts fudge, cream cheese frosting fudge, holiday sweets