Creamy Coffee Pie Recipe (No Bake, 6 Ingredients) Recipe
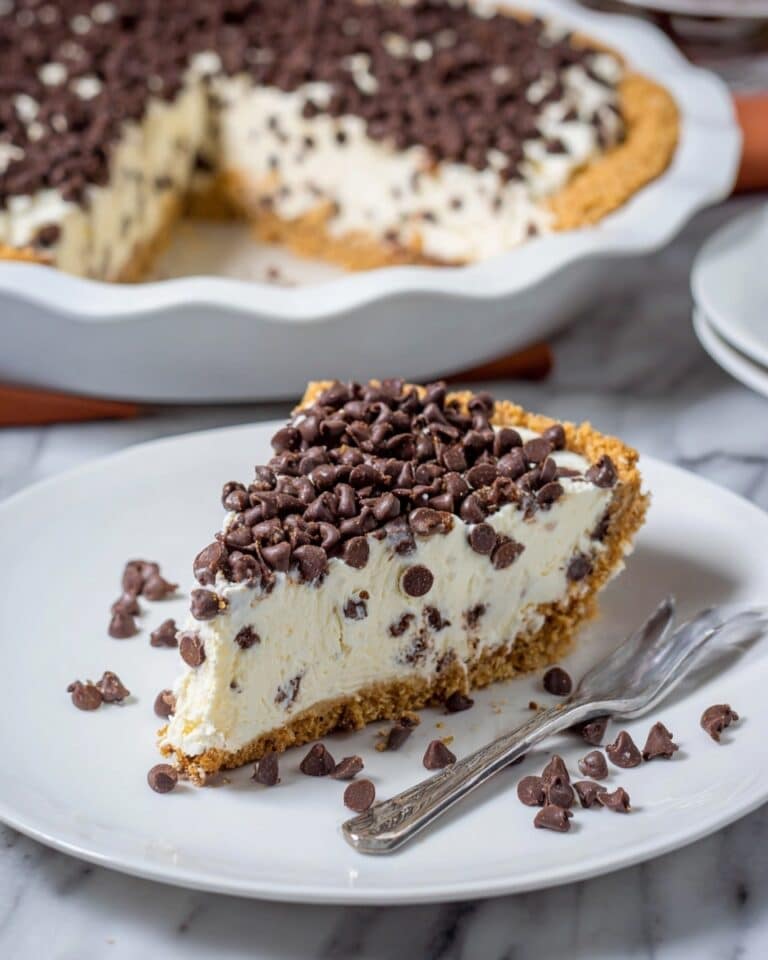
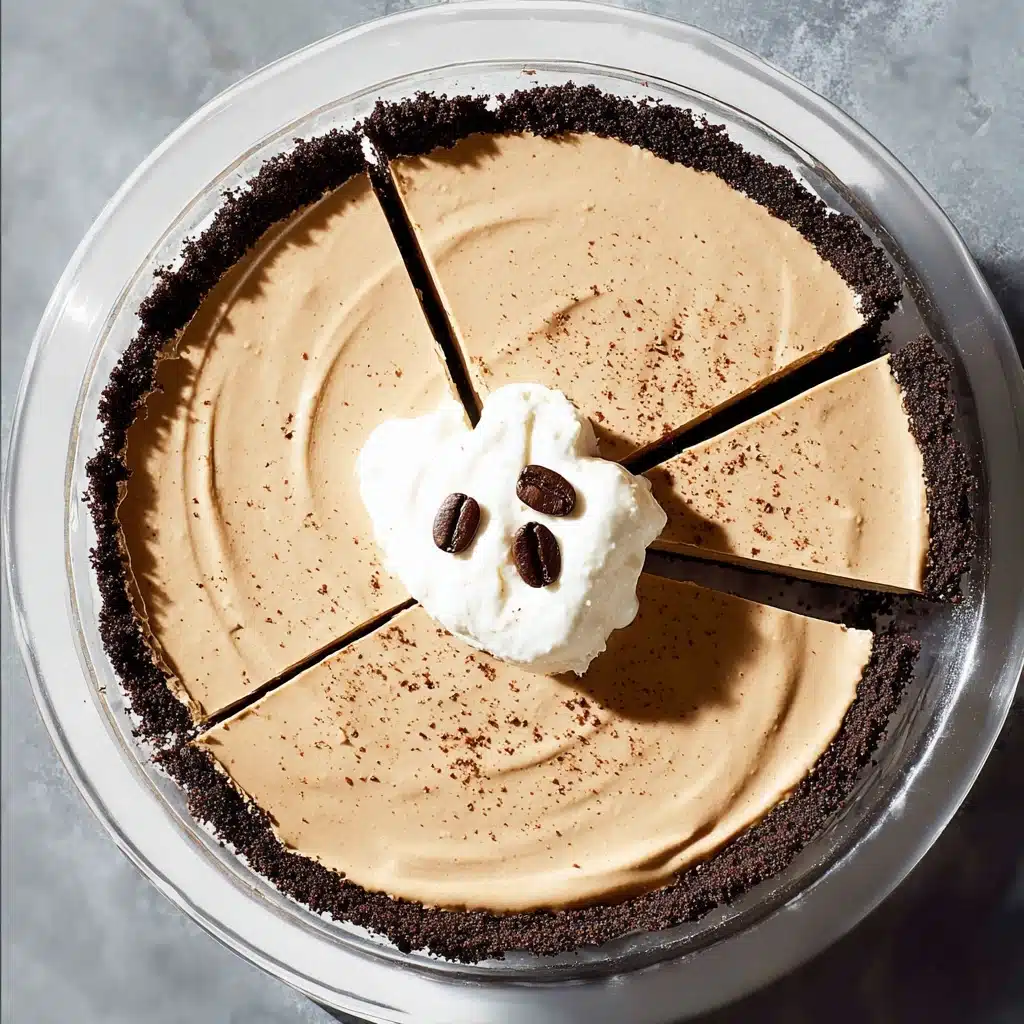
If you are a coffee lover searching for a luscious, no-fuss dessert, this Creamy Coffee Pie Recipe (No Bake, 6 Ingredients) is exactly what you need. The smooth, dreamy coffee-infused filling pairs perfectly with a crunchy Oreo crust, all whipped up with just six straightforward ingredients. It’s rich without being overwhelming, making it a delightful treat that feels indulgent yet simple enough to prepare anytime you crave a coffee-flavored escape. Ready to wow your taste buds without turning on the oven? Let’s dive in!
Ingredients You’ll Need
These six ingredients are the magic behind this dreamy pie. Each one adds a special touch, from the Oreo crust’s intense chocolate crunch to the creamy, sweet coffee-flavored filling that melts in your mouth.
- Oreos: Crushed to create a rich, chocolatey crust that perfectly complements the coffee flavor.
- Melted butter: Binds the Oreo crumbs together, giving the crust just the right texture and richness.
- Heavy cream: Whipped into fluffy, stiff peaks, it forms the airy, luscious base of the filling.
- Powdered sugar: Adds just the right touch of sweetness to balance the coffee’s boldness.
- Instant espresso powder: The star coffee ingredient that infuses the whole pie with authentic, robust espresso flavor.
- Sweetened condensed milk: Brings creaminess and sweetness, making the filling irresistibly smooth and luscious.
How to Make Creamy Coffee Pie Recipe (No Bake, 6 Ingredients)
Step 1: Prepare the Oreo Crust
Start by pulsing the Oreos in a food processor until they turn into fine crumbs. Adding the melted butter next and pulsing again blends the crumbs into a damp, sand-like mixture that’s perfect for molding. This simple process creates the delicious base that will support the dreamy coffee filling.
Step 2: Form the Pie Crust
Take about two-thirds of your Oreo crumb mixture and press it firmly up the sides of a 9-inch deep pie pan with your fingers or a tamper. Then, use the remaining crumbs to build the bottom crust, pressing firmly so the crust holds together well. This crust sets the stage for a crunchy contrast to the creamy filling.
Step 3: Whip the Cream and Espresso
Using a stand mixer fitted with a whisk attachment or handheld beaters, whip the heavy cream, powdered sugar, and instant espresso powder on high speed until stiff peaks form — about 6 to 7 minutes. This fluffy mixture is key to the pie’s light texture and strong coffee notes.
Step 4: Incorporate the Sweetened Condensed Milk
Pour the sweetened condensed milk into the whipped espresso cream and whip on low for 30 seconds. Scrape down the sides with a spatula to incorporate everything evenly, then whip again on low speed for 30 more seconds. This step ensures a silky, sweet filling that holds together beautifully.
Step 5: Assemble and Freeze
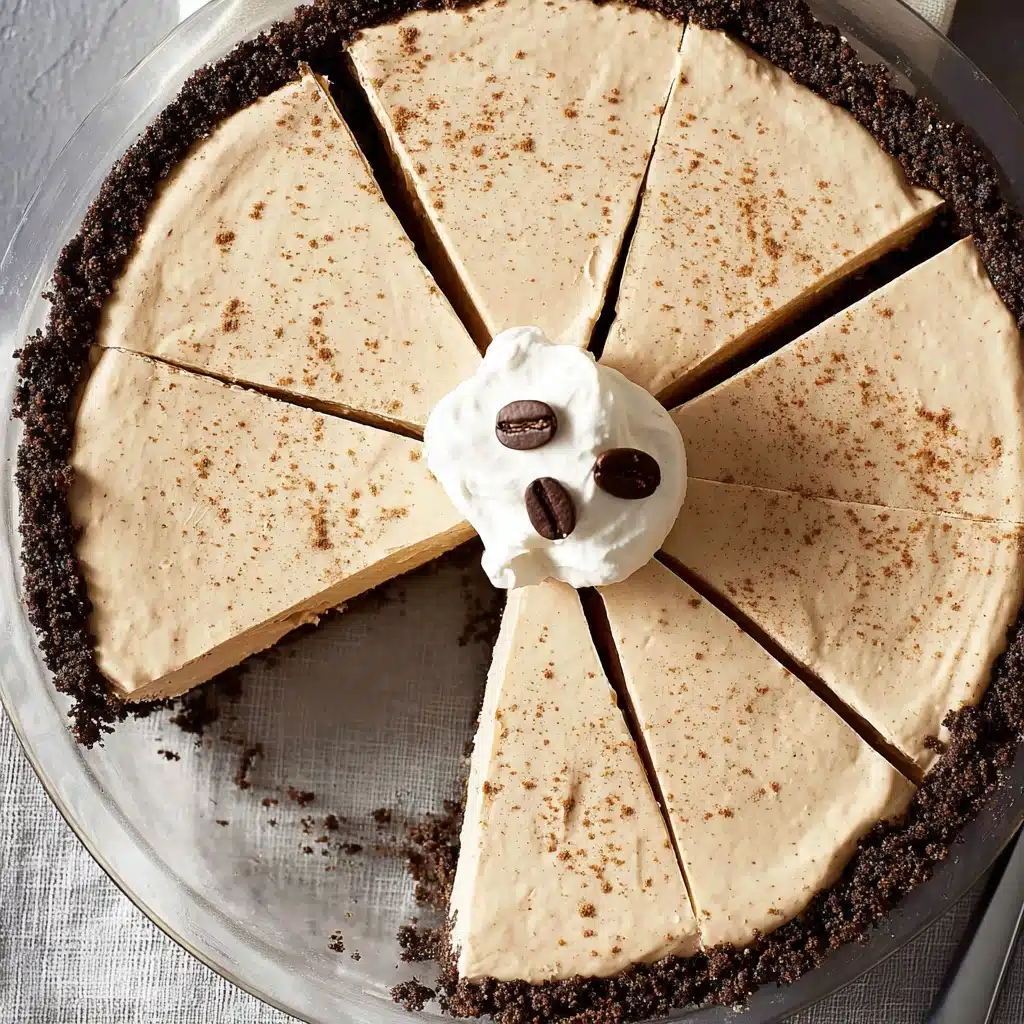
Pour your heavenly filling into the Oreo crust. Smooth the top or get creative with a design to impress your guests. Freeze the pie uncovered for at least six hours to ensure it sets perfectly. Once fully frozen, cover it with plastic wrap and keep it in the freezer until you are ready to serve.
Step 6: Serve with Ease
When you’re ready to indulge, thaw the pie for about 10 minutes so it slices nicely without losing its shape. This gentle thawing step gets each slice ready for that first luscious bite.
How to Serve Creamy Coffee Pie Recipe (No Bake, 6 Ingredients)
Garnishes
To elevate this pie’s already impressive look, consider topping it with a sprinkle of cocoa powder, shaved chocolate, or a dusting of instant espresso powder. Whipped cream rosettes add an elegant touch and invite everyone’s inner dessert enthusiast to get excited.
Side Dishes
Pair this creamy coffee delight with fresh berries or a simple scoop of vanilla ice cream to complement its rich flavors. A cup of black coffee also makes the perfect companion, enhancing the espresso notes and making the experience truly complete.
Creative Ways to Present
If you want to impress a crowd, slice the pie into small, elegant portions and serve in mini dessert glasses layered with chocolate shavings or a drizzle of caramel sauce. You can even add a crisp biscotti or cookie on the side for extra texture and charm.
Make Ahead and Storage
Storing Leftovers
This pie keeps beautifully in the freezer after it’s been fully set. Keep it wrapped in plastic or stored in an airtight container to maintain its texture and flavor for up to two weeks, making it a perfect make-ahead dessert for any occasion.
Freezing
You can freeze the pie right after assembling and smoothing the filling into the crust. Just make sure to freeze uncovered initially to set the texture, then cover to protect from freezer odors. This makes it incredibly convenient to prepare in advance without sacrificing taste.
Reheating
No reheating needed here! The best way to enjoy the pie is chilled or slightly thawed. Just let it sit out for about 10 minutes to soften the texture enough for smooth slicing and creamy mouthfeel before serving.
FAQs
Can I substitute Oreos for a different cookie?
Absolutely! While Oreos lend a classic chocolate flavor and sturdy texture, you can use other cookies like graham crackers or chocolate wafer cookies. Just make sure they crush nicely and hold together when combined with the butter.
Is instant espresso powder necessary?
Instant espresso powder provides a concentrated coffee flavor without dilution. While you can use strong brewed coffee, instant espresso powder keeps the pie’s texture intact and ensures a punchy coffee taste without adding extra liquid.
Can I make this pie without a food processor?
Yes, you can crush the Oreos manually by placing them in a sealed plastic bag and using a rolling pin or a heavy object to crush them finely. It might take a little extra elbow grease but the result is just as tasty.
How long does this pie need to thaw before serving?
About 10 minutes at room temperature is perfect to slightly soften the pie for clean slices and optimal creaminess without risking it becoming too soft or melting.
Can I double the recipe?
Definitely. If you want to serve a larger group, double the ingredients and use two pie pans or a larger dish. Just maintain the same ratio of crust to filling for best results.
Final Thoughts
If you’re craving a dessert that’s effortless, indulgent, and bursting with coffee flavor, the Creamy Coffee Pie Recipe (No Bake, 6 Ingredients) should be at the top of your list. It’s a brilliant way to satisfy your sweet tooth and caffeine cravings all at once. Trust me, once you try this pie, it will become your go-to treat for impressing friends or simply enjoying a moment of pure deliciousness at home.
PrintCreamy Coffee Pie Recipe (No Bake, 6 Ingredients) Recipe

This Creamy Coffee Pie is a no-bake dessert that combines a rich Oreo crust with a luscious coffee-flavored cream filling. Made with just six ingredients, it’s a perfect treat for coffee lovers looking for an easy, decadent pie that freezes beautifully and requires minimal effort.
- Prep Time: 15 minutes
- Cook Time: 0 minutes (no bake)
- Total Time: 6 hours 15 minutes (including freezing time)
- Yield: 8 servings 1x
- Category: Dessert
- Method: No-Bake
- Cuisine: American
- Diet: Vegetarian
Ingredients
Crust
- 25 Oreos
- 4 tbsp butter, melted
Filling
- 3 cups heavy cream
- ½ cup powdered sugar
- 2 tbsp instant espresso powder
- 14 oz sweetened condensed milk
Instructions
- Prepare Oreo Crust: In a food processor, pulse the Oreos until they become fine crumbs. Add the melted butter and pulse again until the crumbs resemble damp sand and are evenly combined.
- Form the Crust: Press about two-thirds of the crumb mixture firmly into the sides of a 9-inch deep dish pie pan using your fingers or a tamper. Then add the remaining crumbs and firmly press into the bottom to create an even crust layer.
- Whip Cream and Espresso: Using a stand mixer with a whisk attachment or hand beaters, whip together the heavy cream, powdered sugar, and instant espresso powder on high speed until stiff peaks form; this should take about 6 to 7 minutes.
- Incorporate Sweetened Condensed Milk: Pour in the sweetened condensed milk and whip on low speed for 30 seconds. Scrape down the sides with a spatula and then whip again on low speed for another 30 seconds to combine fully.
- Assemble and Freeze: Pour the coffee cream filling into the prepared Oreo crust and smooth the top or create decorative swirls if desired. Freeze the pie uncovered for at least 6 hours until thoroughly frozen.
- Serve: Before serving, thaw the pie for about 10 minutes at room temperature to make slicing easier. Enjoy this creamy, coffee-flavored no-bake pie!
Notes
- For a stronger coffee flavor, increase the espresso powder to 3 tablespoons.
- Make sure the heavy cream is very cold for better whipping results.
- You can substitute Oreos with gluten-free chocolate cookies for a gluten-free version.
- The pie keeps well in the freezer for up to 2 weeks if properly wrapped.
- Allow the pie to thaw slightly before slicing to maintain clean cuts.
Nutrition
- Serving Size: 1 slice (1/8 of pie)
- Calories: 410 kcal
- Sugar: 34 g
- Sodium: 170 mg
- Fat: 27 g
- Saturated Fat: 16 g
- Unsaturated Fat: 9 g
- Trans Fat: 0.5 g
- Carbohydrates: 38 g
- Fiber: 1 g
- Protein: 5 g
- Cholesterol: 95 mg
Keywords: Creamy Coffee Pie, No Bake Pie, Oreo Crust, Coffee Dessert, Easy Pie Recipe, Instant Espresso Pie