Espresso Chocolate Chip Cookies Recipe
Introduction
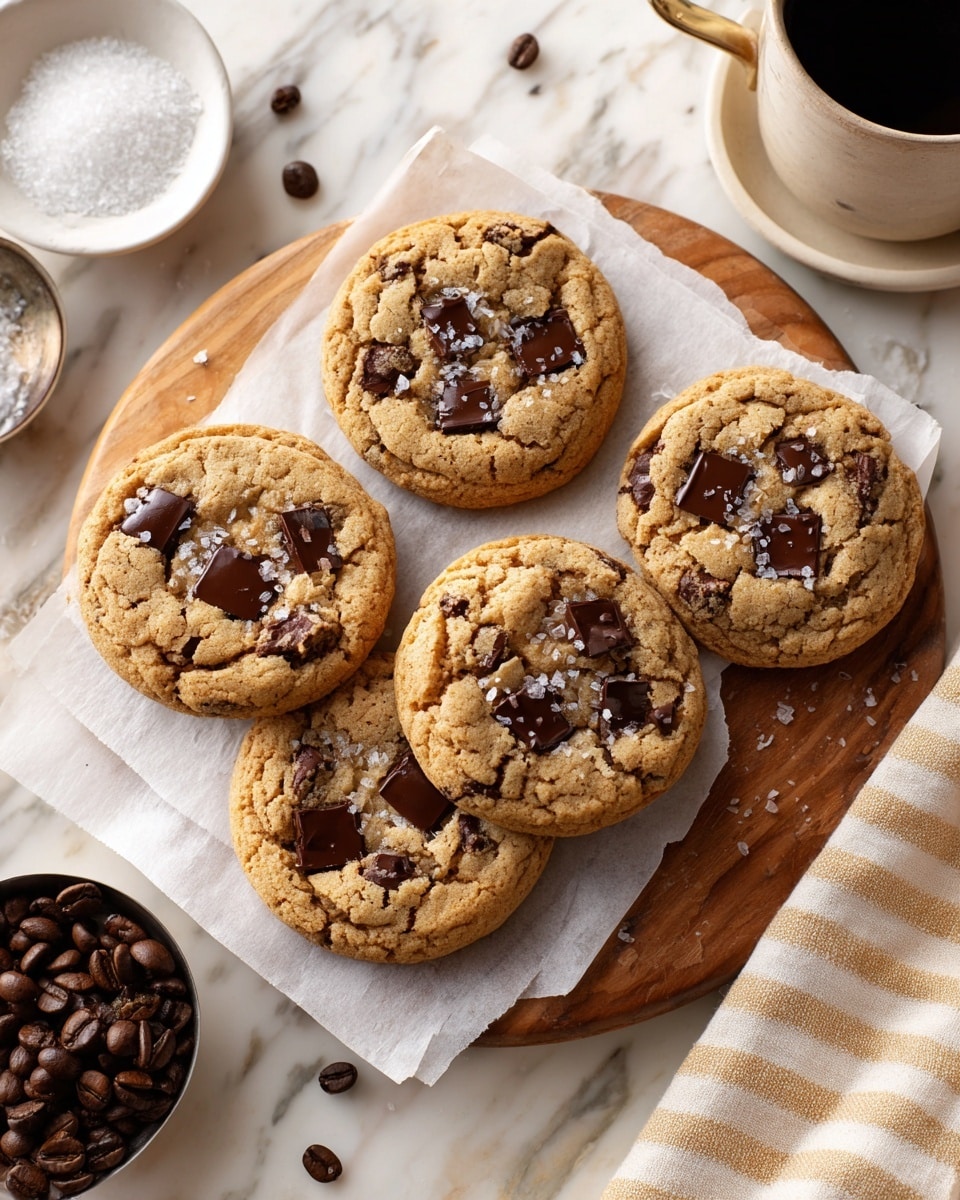
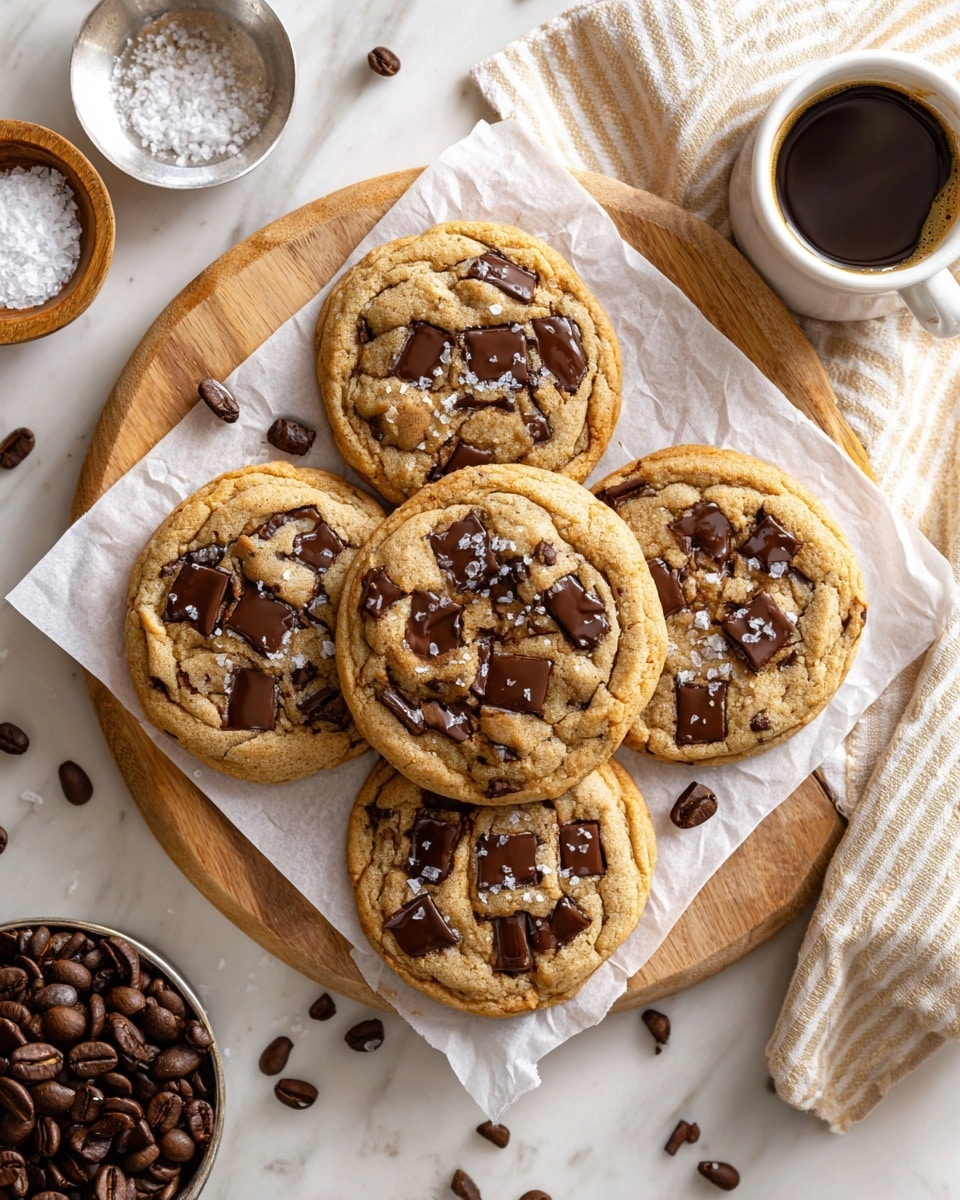
These Espresso Chocolate Chip Cookies combine rich, nutty browned butter and a bold espresso kick for a truly decadent treat. Soft and chewy with melted chocolate chunks, they’re perfect for coffee lovers and cookie fans alike.
Ingredients
- 1 cup unsalted butter
- 1/3 cup instant espresso
- 2 1/4 cups all-purpose flour
- 1 tablespoon cornstarch
- 1 teaspoon baking soda
- 1 teaspoon sea salt
- 1 cup brown sugar (firmly packed)
- 3/4 cup granulated sugar
- 1 large egg (room temperature)
- 1 large egg yolk (room temperature)
- 2 teaspoons vanilla extract
- 1 cup chopped chocolate
Instructions
- Step 1: Heat the butter in a saucepan over medium heat until melted and dark amber in color, with the milk solids caramelized and a nutty aroma. Remove from heat and transfer to a mixing bowl.
- Step 2: Stir the instant espresso into the warm browned butter and set aside to cool.
- Step 3: In a small bowl, mix together the flour, cornstarch, baking soda, and salt. Set aside.
- Step 4: Beat the butter and both sugars until the mixture is well combined and slightly fluffy.
- Step 5: Add the egg, egg yolk, and vanilla extract to the butter-sugar mixture and beat until fully incorporated.
- Step 6: Gradually stir in the flour mixture until just combined—avoid overmixing to keep cookies tender.
- Step 7: Fold in the chopped chocolate evenly throughout the dough.
- Step 8: Scoop the dough into 2-tablespoon-sized balls and place them on a tray. Chill in the refrigerator for at least one hour, or preferably overnight up to three days.
- Step 9: Preheat the oven to 350°F (175°C). Line two baking sheets with parchment paper.
- Step 10: Arrange the cookie dough balls 2 inches apart on the prepared baking sheets. Bake for 8 to 10 minutes, until the edges are golden brown.
- Step 11: Let the cookies rest on the baking sheet for one minute, then transfer to a wire rack to cool completely. Sprinkle with flaky sea salt while still warm for an added touch.
Tips & Variations
- For a stronger coffee flavor, increase the instant espresso to 1/2 cup or use finely ground espresso instead.
- Use a mix of dark and milk chocolate for more complex chocolate notes.
- If you prefer crispier cookies, bake an additional 1-2 minutes but watch closely to avoid burning.
- Chilling the dough overnight improves flavor and texture, so plan ahead if you can.
Storage
Store baked cookies in an airtight container at room temperature for up to 5 days. For longer storage, freeze baked cookies in a sealed container for up to 3 months. To reheat, warm in a low oven or microwave briefly to restore softness and melty chocolate.
How to Serve
Serve this delicious recipe with your favorite sides.
FAQs
Can I use regular brewed coffee instead of instant espresso?
Instant espresso powder works best here since it dissolves completely and intensifies flavor without adding extra liquid. Using brewed coffee will affect dough consistency.
Why is the dough chilled before baking?
Chilling the dough firms it up, preventing the cookies from spreading too much in the oven, and also allows the flavors to develop more fully for better taste.
PrintEspresso Chocolate Chip Cookies Recipe

These Espresso Chocolate Chip Cookies combine rich caramelized butter with bold espresso flavor and chunks of chopped chocolate for a deliciously deep and indulgent treat. The cookies have a perfectly soft and chewy texture with a golden exterior, enhanced by a touch of flaky sea salt on top. Chilling the dough before baking intensifies the flavors and ensures a tender bite.
- Prep Time: 20 minutes
- Cook Time: 10 minutes
- Total Time: 1 hour 30 minutes (including chilling time)
- Yield: About 24 cookies 1x
- Category: Dessert
- Method: Baking
- Cuisine: American
Ingredients
Wet Ingredients
- 1 cup unsalted butter
- 1/3 cup instant espresso powder
- 1 cup brown sugar (firmly packed)
- 3/4 cup granulated sugar
- 1 large egg (room temperature)
- 1 large egg yolk (room temperature)
- 2 teaspoons vanilla extract
Dry Ingredients
- 2 1/4 cups all-purpose flour
- 1 tablespoon cornstarch
- 1 teaspoon baking soda
- 1 teaspoon sea salt
Add-ins
- 1 cup chopped chocolate
- Flaky sea salt, for topping
Instructions
- Caramelize Butter: Heat the butter in a saucepan over medium heat until it melts completely and turns a dark amber color with caramelized milk solids, smelling nutty and rich. Remove from heat and transfer to a mixing bowl to cool slightly.
- Add Espresso: Stir the instant espresso powder into the warm butter until fully dissolved. Set the mixture aside to cool to room temperature.
- Mix Dry Ingredients: In a separate small bowl, whisk together the all-purpose flour, cornstarch, baking soda, and sea salt. Set aside.
- Cream Butter and Sugars: With a mixer, beat the butter and espresso mixture with both the brown and granulated sugars until fully combined and smooth.
- Add Eggs and Vanilla: Beat in the whole egg, egg yolk, and vanilla extract until well incorporated and the batter is smooth and glossy.
- Combine Dry and Wet: Gradually stir the flour mixture into the wet ingredients, mixing just until combined to avoid overworking the dough.
- Fold in Chocolate: Gently fold the chopped chocolate pieces into the dough evenly.
- Chill Dough: Portion the dough into balls approximately 2 tablespoons each. Arrange on a tray and chill in the refrigerator for at least one hour, preferably overnight or up to three days to develop flavor.
- Preheat Oven and Prepare Sheets: Preheat your oven to 350°F (175°C). Line two baking sheets with parchment paper to prevent sticking.
- Bake Cookies: Arrange dough balls 2 inches apart on the prepared baking sheets. Bake in the preheated oven for 8 to 10 minutes until the cookies are golden brown around the edges but still soft in the center.
- Cool and Salt: Let the cookies rest on the baking sheet for one minute to set, then transfer them to a wire rack to cool completely. While still warm, sprinkle with flaky sea salt to enhance the flavor contrast.
Notes
- Caramelizing the butter adds a deep nutty flavor that complements the espresso and chocolate beautifully.
- Using room temperature eggs ensures better mixing and a smoother dough.
- Chilling the dough not only helps develop flavor but also prevents excessive spreading during baking.
- Flaky sea salt topping adds a pleasant savory contrast and balances the sweetness.
- Store baked cookies in an airtight container at room temperature for up to 5 days or freeze the dough balls for longer storage.
Keywords: espresso chocolate chip cookies, caramelized butter cookies, chewy chocolate chip cookies, coffee flavored cookies, homemade cookies