Marshmallow Whip Cheesecake : No-Bake Dream Dessert Recipe
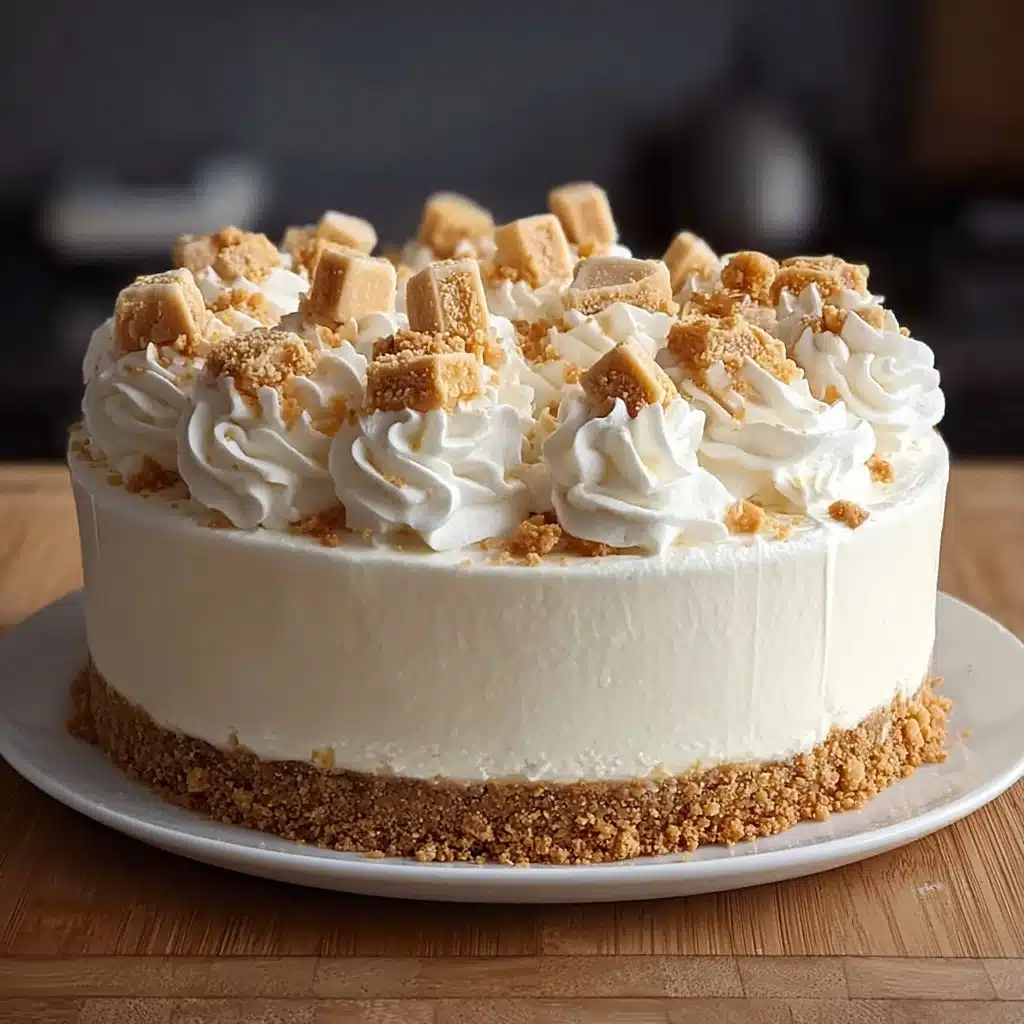
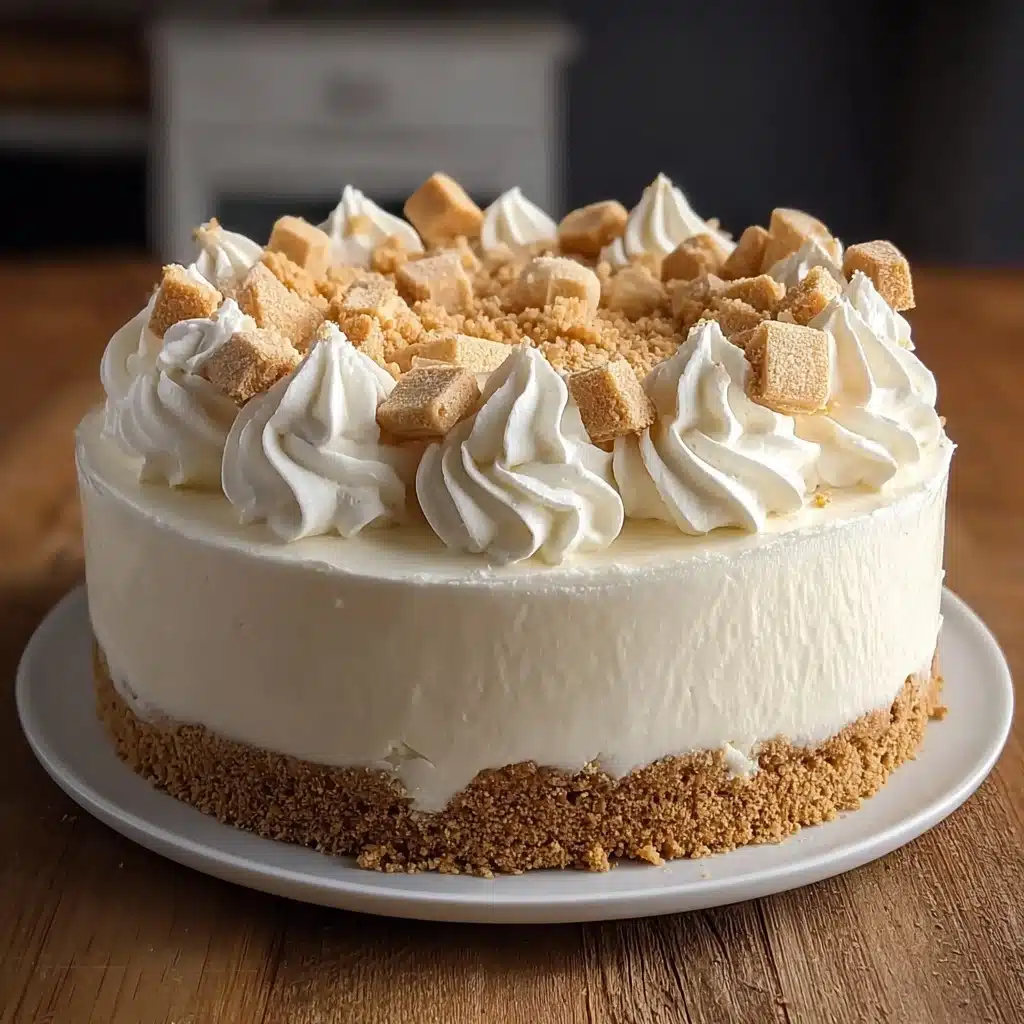
If you’re on the hunt for a delightful treat that combines fluffy sweetness with creamy richness without turning on your oven, the Marshmallow Whip Cheesecake : No-Bake Dream Dessert is absolutely the answer. This dreamy cheesecake blends the airy magic of marshmallow fluff with smooth cream cheese, all nestled atop a buttery graham cracker crust. It’s a showstopper that feels indulgent yet light, perfect for sharing with friends or simply enjoying as a well-deserved treat after a long day.
Ingredients You’ll Need
Simple, fresh ingredients come together in this recipe to create layers of texture and flavor that make this dessert so irresistible. Each component plays an essential role, from the crispy graham cracker crust to the light, fluffy filling that carries the marshmallow’s sweet charm.
- Graham cracker crumbs: Provides a crunchy, slightly sweet base that holds everything together perfectly.
- Granulated sugar: Adds just the right amount of sweetness to balance the crust’s flavor.
- Unsalted butter: Melted to bind the crust ingredients and give a rich, buttery taste.
- Cream cheese: The creamy foundation for the filling, beaten until smooth for a silky texture.
- Marshmallow fluff: Brings that light, sweet fluffiness that makes this cheesecake truly a “whip” dream.
- Vanilla extract: Adds a warm, aromatic note that enhances the filling’s sweetness.
- Whipped topping: Lightens the filling even more, creating a mousse-like, airy feel that melts in your mouth.
- Optional toppings: Fresh berries, mini marshmallows, chocolate shavings, or crushed graham crackers to add bursts of flavor and texture as you like.
How to Make Marshmallow Whip Cheesecake : No-Bake Dream Dessert
Step 1: Create the Perfect Graham Cracker Crust
Start by mixing the graham cracker crumbs with granulated sugar, then stir in the melted butter so that every crumb is coated and ready to stick. Press this mixture firmly and evenly into the base of your 9-inch springform pan. This crust forms the crunchy, buttery foundation for the dreamy marshmallow filling, and chilling it helps it set firmly before adding the next layer.
Step 2: Whip Up the Cheesecake Filling
Now comes the fun part—making that luscious filling. Beat the cream cheese until it’s completely smooth and fluffy, which creates a velvety base. Then fold in the marshmallow fluff and vanilla extract, blending until everything is uniformly creamy. The final touch is gently folding in the thawed whipped topping, which introduces a soft, airy texture that defines the Marshmallow Whip Cheesecake : No-Bake Dream Dessert.
Step 3: Assemble and Chill
Spread the combined cheesecake filling over the chilled crust with a spatula, smoothing out the top so it looks as gorgeous as it tastes. Cover the whole thing with plastic wrap and pop it into your fridge for at least 4 hours, though overnight chilling works wonders for the flavors to meld and the dessert to firm up perfectly.
Step 4: Decorate and Serve Your Dream Dessert
When you’re ready to wow your guests, remove the springform pan ring and add your favorite toppings. Bright fresh berries pop with color and a tart contrast, mini marshmallows enhance the fluffy theme, and chocolate shavings or drizzle bring a rich finish. Cut into slices and serve chilled for a truly delightful bite every time.
How to Serve Marshmallow Whip Cheesecake : No-Bake Dream Dessert
Garnishes
Garnishing this cheesecake lets you get creative and add vibrant flavors or eye-catching textures. Try fresh strawberries or raspberries for a juicy burst, sprinkle toasted mini marshmallows for extra fluff, or dust with bittersweet chocolate shavings for elegant richness. Each garnish takes the Marshmallow Whip Cheesecake : No-Bake Dream Dessert from simple to spectacular.
Side Dishes
While this cheesecake is rich and filling on its own, pairing it with light sides like a refreshing fruit salad or a crisp mint tea can balance the sweetness beautifully. These sides bring freshness and palate-cleansing qualities that complement the indulgence of the dessert perfectly.
Creative Ways to Present
For parties, consider serving the cheesecake in individual parfait glasses layered with extra graham cracker crumbs and berries, or cut into bite-size bars for easy snacking. You can even pipe additional marshmallow fluff on top for a playful cloud-like effect. Experimenting with presentation ideas keeps this comfort dessert exciting.
Make Ahead and Storage
Storing Leftovers
Leftovers of this Marshmallow Whip Cheesecake : No-Bake Dream Dessert store wonderfully in the refrigerator. Just cover it tightly with plastic wrap or transfer to an airtight container. It will stay fresh and maintain its creamy texture for up to 3 days, making it perfect for enjoying a little at a time.
Freezing
This cheesecake freezes well if you want to save portions for later. Wrap it securely in plastic wrap and foil or place it in a freezer-safe container. When you’re ready to eat, thaw it in the refrigerator overnight to maintain its rich yet fluffy texture without any icy surprises.
Reheating
Since this is a no-bake, chilled dessert, reheating is not recommended because it can alter the texture and melt the marshmallow fluff. It’s best served cold straight from the fridge to enjoy the full, creamy experience of the Marshmallow Whip Cheesecake : No-Bake Dream Dessert.
FAQs
Can I use regular marshmallows instead of marshmallow fluff?
While marshmallow fluff gives this cheesecake its signature airy texture, you can melt regular mini marshmallows with a tiny bit of water and cool them before folding into the filling. However, using fluff is easier and yields the best consistency.
Do I need a springform pan for this recipe?
A springform pan is ideal because it allows you to release the cheesecake without disturbing the sides or crust. If you don’t have one, you can use a regular pan lined with parchment paper and carefully lift the edges for serving.
Can I make this cheesecake vegan or dairy-free?
Yes, by using dairy-free cream cheese and whipped topping substitutes and ensuring your marshmallow fluff is vegan-friendly, you can adapt this recipe. The flavor and texture might shift slightly, but it will still be a fantastic no-bake dessert.
How long does the cheesecake need to chill before serving?
The cheesecake needs at least 4 hours to firm up, but overnight chilling is best for a perfect sliceable texture and for the flavors to meld beautifully in this Marshmallow Whip Cheesecake : No-Bake Dream Dessert.
Can I add other flavors to the filling?
Absolutely! Try adding a splash of almond extract, a spoonful of lemon zest, or even a bit of cocoa powder to give the cheesecake your own unique twist. Just be careful not to overpower the delicate marshmallow flavor.
Final Thoughts
There’s something incredibly comforting about the Marshmallow Whip Cheesecake : No-Bake Dream Dessert that makes it a must-try for any sweet tooth. It’s effortless to make, wonderfully light yet indulgent, and endlessly adaptable for any occasion. Once you take a bite of this marshmallow-cloud cheesecake, you’ll be longing to make it again and again—trust me, it’s that good!
PrintMarshmallow Whip Cheesecake : No-Bake Dream Dessert Recipe

This Marshmallow Whip Cheesecake is a no-bake, dreamy dessert combining a crunchy graham cracker crust with a fluffy, creamy filling made from cream cheese, marshmallow fluff, and whipped topping. It’s light, airy, and perfect for any occasion, featuring optional toppings like fresh berries and chocolate for extra indulgence.
- Prep Time: 15 minutes
- Cook Time: 0 minutes
- Total Time: 4 hours 15 minutes (including chilling)
- Yield: 8 servings 1x
- Category: Dessert
- Method: No-Bake
- Cuisine: American
- Diet: Vegetarian
Ingredients
For the Graham Cracker Crust:
- 1½ cups graham cracker crumbs
- ⅓ cup granulated sugar
- ½ cup (1 stick) unsalted butter, melted
For the Cheesecake Filling:
- 16 oz cream cheese, softened
- 7 oz marshmallow fluff (1 jar)
- 1 tsp vanilla extract
- 1 container (8 oz) whipped topping (like Cool Whip), thawed
Optional Toppings:
- Fresh berries
- Mini marshmallows
- Chocolate shavings or drizzle
- Crushed graham crackers
Instructions
- Make the Crust: In a medium bowl, mix graham cracker crumbs and sugar. Stir in the melted butter until well combined. Press the mixture firmly into the bottom of a 9-inch springform pan. Chill in the fridge while preparing the filling to help the crust set.
- Prepare the Filling: In a large mixing bowl, beat the softened cream cheese until smooth and fluffy. Add the marshmallow fluff and vanilla extract, mixing until well combined and creamy. Gently fold in the thawed whipped topping until the mixture is light and airy, ensuring you don’t deflate the whipped topping’s volume.
- Assemble the Cheesecake: Spread the cheesecake mixture evenly over the chilled crust using a spatula to smooth the surface. Cover the pan with plastic wrap and refrigerate for at least 4 hours, preferably overnight, to allow the cheesecake to set properly.
- Decorate and Serve: Before serving, add your choice of toppings such as fresh strawberries, mini marshmallows, or a drizzle of chocolate sauce. Carefully remove the springform ring, slice the cheesecake, and serve chilled for the best texture and flavor.
Notes
- For best results, ensure the cream cheese is fully softened before mixing to avoid lumps.
- Chilling time is important; refrigerate overnight if possible for a firmer texture.
- Use a spatula or bench scraper to press the crust firmly so it holds together well.
- This cheesecake is best served within 2-3 days and kept refrigerated.
- Feel free to customize toppings based on preference or occasion.
Nutrition
- Serving Size: 1 slice (1/8 of cheesecake)
- Calories: 350 kcal
- Sugar: 24 g
- Sodium: 210 mg
- Fat: 25 g
- Saturated Fat: 15 g
- Unsaturated Fat: 8 g
- Trans Fat: 0 g
- Carbohydrates: 25 g
- Fiber: 1 g
- Protein: 4 g
- Cholesterol: 65 mg
Keywords: No-bake cheesecake, marshmallow whip cheesecake, easy cheesecake dessert, graham cracker crust cheesecake, fluffy cheesecake recipe