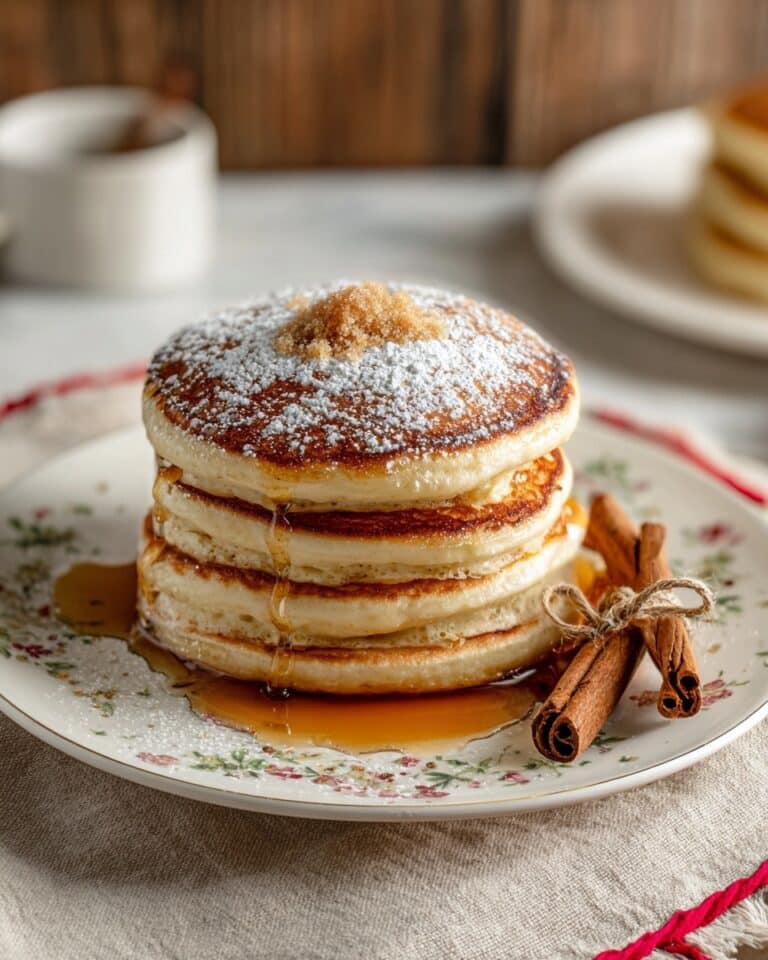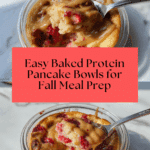
No-Banana Baked Oats Recipe
If you’re tired of the same old breakfast routines and want something both nourishing and fuss-free, these baked protein pancake bowls are a total game changer. What makes them especially appealing is that they are reat for meal prep and no banana needed! This means you get all the protein-packed goodness and fluffy texture without the reliance on banana’s sweetness or moisture. Perfect for busy mornings, they bake right in the bowl, making cleanup a breeze and giving you a warm, satisfying start to your day every time.

Ingredients You’ll Need
These ingredients are wonderfully simple yet essential to create that perfectly fluffy, protein-rich pancake bowl that balances flavor and texture. Each component brings something special to the mix, whether it’s creaminess, binding power, or the protein boost you crave.
- 1 egg: Acts as a natural binder and adds richness to your pancake bowl.
- 50 g yogurt (vanilla or unflavoured): Provides moisture and a gentle tang that complements the protein powder beautifully.
- 70 ml milk (soy, almond, or any variety): Keeps the batter smooth and helps achieve the perfect pancake consistency.
- 35 g all-purpose flour: The structure builder that gives your pancake a tender crumb.
- 25 g protein powder: The star player here, giving your pancakes a satisfying punch of protein to keep you fueled.
- 5 g zero calorie granulated sweetener (or sweetener of choice, about 1 tsp): Adds just the right hint of sweetness without weighing down the taste.
- 1/2 tsp baking powder: Helps your pancake bowl rise nicely and stay fluffy throughout baking.
How to Make reat for No-Banana Baked Oats
Step 1: Preheat the Oven
Begin by heating your oven to 180°C (or 356°F). This ensures that it’s hot and ready the moment your bowls are prepped, allowing your pancakes to bake evenly and develop that lovely golden top without delay.
Step 2: Mix Your Ingredients
Add the egg, yogurt, milk, flour, protein powder, sweetener, and baking powder directly into an oven-safe glass bowl. Stir everything together thoroughly until you have a smooth batter with no lumps left. This simple mixing step is where the magic begins to form that perfect batter that’s reat for meal prep and no banana needed!
Step 3: Prepare Multiple Bowls if Meal Prepping
If you’re making several pancake bowls for the week ahead, remember to divide each ingredient evenly into separate oven-safe bowls. Mixing them individually ensures even cooking and prevents flavor mixing—a smart move for grab-and-go breakfasts. This method truly underscores why these bowls are reat for meal prep and no banana needed!
Step 4: Add Your Favorite Toppings
Now’s the time to get creative. Add toppings right on top of the batter before baking—you can use fresh fruit, sugar-free chocolate chips, shredded carrots, or simply keep it plain and let the pancake’s natural flavors shine.
Step 5: Bake to Perfection
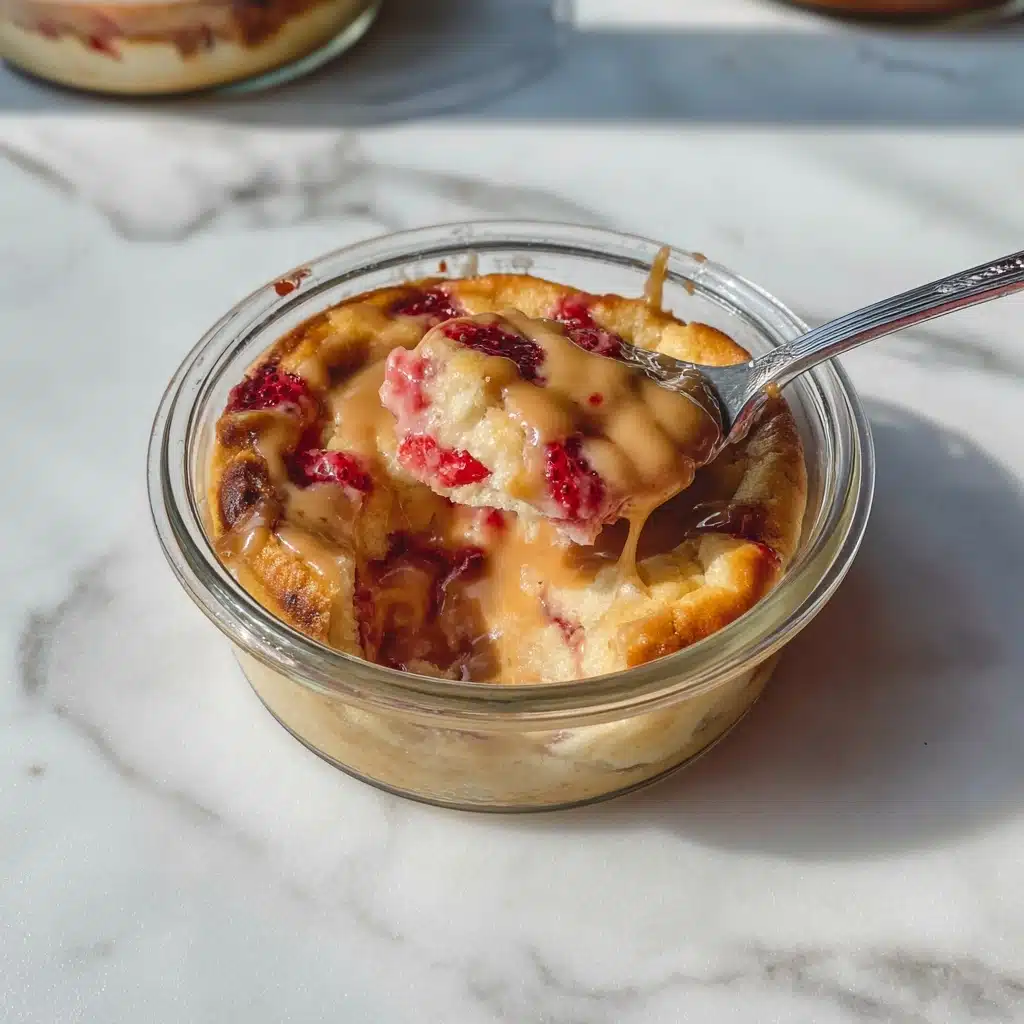
Place your bowl(s) in the preheated oven and bake for 20-22 minutes. Baking transforms the batter into a soft, fluffy pancake bowl that’s warm and comforting. You’ll know it’s done when it’s lightly golden and set in the middle, the exact kind of satisfying texture that makes this dish reat for meal prep and no banana needed!
Step 6: Cool and Serve
Once baking is complete, remove the bowl from the oven carefully and allow it to cool for 5-10 minutes. This resting time lets the pancake bowl set perfectly so it holds together when you dig in without being too hot to enjoy immediately.
How to Serve reat for No-Banana Baked Oats Recipe
Garnishes
A sprinkle of fresh berries or a dusting of cinnamon really amps up the flavor profile. Adding a spoonful of peanut butter or a drizzle of maple syrup creates a luscious finishing touch that elevates the pancake bowl from simple meal prep to a delightful breakfast experience.
Side Dishes
Serve alongside a small green smoothie or your favorite nut butter for extra nutrition and texture contrast. A side of crispy bacon or turkey sausage can also complement the protein-packed base while adding savory balance.
Creative Ways to Present
For an Instagram-worthy spread, top your pancake bowls with edible flowers or finely chopped nuts for some colorful crunch. Layering in Greek yogurt or coconut cream dollops makes the bowl look indulgent but stays wholesome and reat for meal prep and no banana needed!
Make Ahead and Storage
Storing Leftovers
Store any leftover baked protein pancake bowls in an airtight container in the refrigerator, where they stay fresh for up to 3 days. This makes it super convenient to enjoy your favorite breakfast on busy mornings without any extra effort.
Freezing
These pancake bowls freeze wonderfully! Wrap each bowl tightly with plastic wrap, or place in freezer-safe containers for up to 2 months. When you want a quick breakfast, just thaw overnight in the fridge and warm up—no spending time on complicated cooking required.
Reheating
To reheat, pop your pancake bowl into the microwave for about 60 seconds or until heated through. Alternatively, heat it in a low oven at 150°C (300°F) for 10-15 minutes, which brings back some of the baked texture beautifully.
FAQs
Can I use other types of protein powder?
Absolutely! Whether it’s whey, plant-based, or collagen powder, you can swap in whichever protein powder you prefer without compromising texture or taste.
What if I don’t have yogurt on hand?
You can substitute yogurt with an equal amount of sour cream or even applesauce for moisture, though yogurt adds a lovely tang that’s hard to beat.
Is it possible to make this gluten-free?
Yes, you can replace all-purpose flour with gluten-free flour blends, making this dish accessible for those with dietary restrictions while staying reat for meal prep and no banana needed!
Can I add more sweetener if I want it sweeter?
Sure thing! Feel free to adjust the sweetness level to your liking, especially if you’re topping with unsweetened fruit or want a little extra flavor kick.
How long will these pancake bowls keep in the fridge?
They’re best eaten within 3 days for optimal freshness and texture, making them handy for meal prep but still tasting just-baked every time.
Final Thoughts
These baked protein pancake bowls truly hit all the right notes with their simplicity, versatility, and comforting flavors. They’re the perfect choice if you want something nutritious, easy to store, and deliciously satisfying—all while being reat for meal prep and no banana needed! Give this recipe a go, and I bet it’ll quickly become one of your go-to breakfasts to brighten hectic mornings.
PrintNo-Banana Baked Oats Recipe

These Baked Protein Pancake Bowls are a perfect meal prep option that combines the convenience of baking with a nutritious punch. Unlike traditional pancakes, this recipe requires no bananas and uses protein powder for an extra boost, making it ideal for a high-protein breakfast or snack. They’re easy to prepare, customizable with your favorite toppings, and bake up fluffy and delicious with minimal cleanup.
- Prep Time: 5 minutes
- Cook Time: 20-22 minutes
- Total Time: 27 minutes
- Yield: 1 pancake bowl (adjustable by multiplying ingredients for more servings) 1x
- Category: Breakfast, Meal Prep
- Method: Baking
- Cuisine: American
- Diet: Low Fat
Ingredients
Main Ingredients
- 1 egg
- 50 g yogurt (vanilla or unflavoured)
- 70 ml milk (soy, almond, or any milk of choice)
- 35 g all-purpose flour
- 25 g protein powder
- 5 g zero-calorie granulated sweetener (or sweetener of choice, about 1 tsp)
- 1/2 tsp baking powder
Toppings (optional)
- Fresh fruit (e.g., berries, sliced banana)
- Sugar-free chocolate chips
- Shredded carrots
- Extra yogurt, peanut butter, maple syrup, or butter for serving
Instructions
- Preheat Oven: Set your oven to 180°C (356°F) to properly preheat while you prepare the ingredients.
- Mix Ingredients: In an oven-safe glass bowl, add the egg, yogurt, milk, all-purpose flour, protein powder, sweetener, and baking powder. Mix thoroughly until the batter is smooth and well combined.
- Prepare Multiple Bowls: If making several pancake bowls for meal prep, distribute the ingredients into each bowl separately and mix each one well to ensure even cooking and flavor.
- Add Toppings: Customize your bowls by adding your choice of toppings such as fresh fruit, sugar-free chocolate chips, or shredded carrots. Alternatively, leave the batter plain.
- Bake: Place the bowls in the preheated oven and bake for 20-22 minutes until the pancake bowls are set and lightly golden on top.
- Cool: Remove the bowls from the oven and let them cool for 5-10 minutes to set fully and avoid burning when eating.
- Serve: Enjoy warm with additional yogurt, peanut butter, maple syrup, or butter as desired.
Notes
- Use any type of milk you prefer, including plant-based options like almond or soy milk.
- Protein powder flavor can be vanilla, chocolate, or unflavored to suit your taste.
- Sweetener quantity can be adjusted to your preference or omitted entirely for natural sweetness.
- These bowls can be made in bulk and stored in the refrigerator for up to 3 days or frozen for longer meal prep.
- Ensure to use oven-safe glass bowls to prevent cracking or damage during baking.
Nutrition
- Serving Size: 1 bowl (approx. 150g)
- Calories: 250
- Sugar: 3g
- Sodium: 180mg
- Fat: 5g
- Saturated Fat: 1g
- Unsaturated Fat: 3g
- Trans Fat: 0g
- Carbohydrates: 22g
- Fiber: 2g
- Protein: 20g
- Cholesterol: 75mg
Keywords: baked protein pancake bowls, high protein breakfast, meal prep pancakes, protein powder pancakes, healthy pancake recipe, no banana pancakes