Red Velvet Cookies with White Chocolate Chips Recipe
Introduction
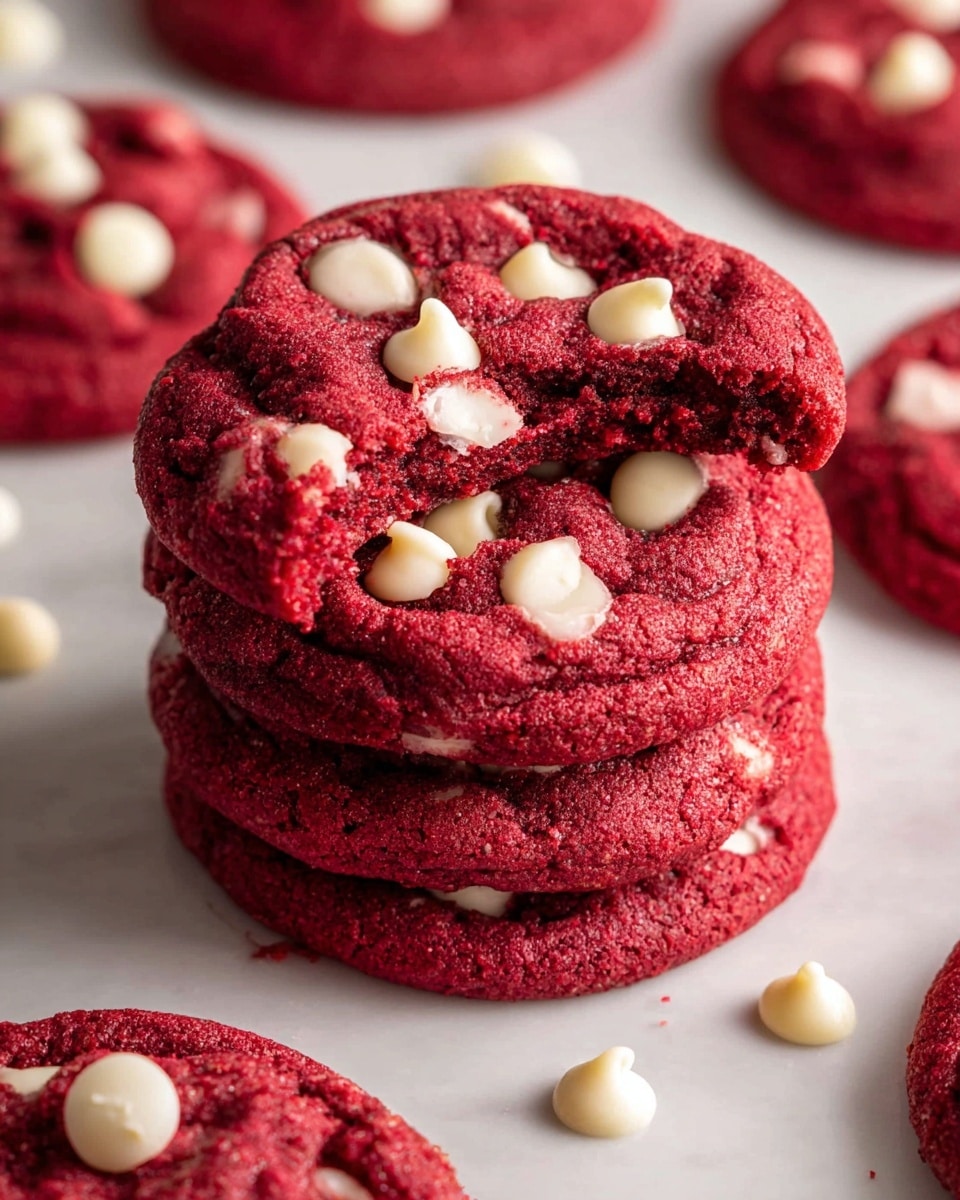
These Red Velvet Cookies are a delightful twist on the classic cake, offering a soft, chewy texture with a subtle cocoa flavor and a striking red hue. Studded with creamy white chocolate chips, they make a perfect treat for holidays, celebrations, or any time you crave something special.

Ingredients
- 1 1/2 cups + 2 tbsps (204 g) all-purpose flour (spooned and leveled)
- 2 tbsps (10 g) Dutch process cocoa powder
- 1/2 tsp baking soda
- 1/2 tsp baking powder
- 1/2 tsp salt
- 3/4 cup (168 g) salted butter, softened
- 3/4 cup (165 g) light brown sugar
- 1/4 cup (50 g) granulated white sugar
- 2 egg yolks, at room temperature
- 1 tbsp vanilla extract
- 1–1 1/2 tsp red gel food coloring (adjust depending on desired color)
- 3/4 cup (150 g) chopped white chocolate or white chocolate chips
Instructions
- Step 1: Preheat your oven to 350°F (175°C). Line two baking sheets with parchment paper and set them aside.
- Step 2: In a small bowl, whisk together the flour, cocoa powder, baking soda, baking powder, and salt. Set this dry mixture aside.
- Step 3: In a large bowl, cream the softened butter, light brown sugar, and granulated white sugar using an electric mixer for about two minutes until the mixture is light and fluffy.
- Step 4: Add the egg yolks, vanilla extract, and red gel food coloring to the butter and sugar mixture. Mix on medium speed for two minutes until fluffy and well combined.
- Step 5: Gradually add the dry ingredients to the wet mixture and mix until just combined.
- Step 6: Fold in the white chocolate chunks or chips until evenly distributed throughout the dough.
- Step 7: Scoop the dough into 18 even balls and place them about two inches apart on the prepared baking sheets.
- Step 8: Bake the cookies for 10 to 12 minutes. For softer centers, bake closer to 10 minutes; for crisper edges, bake the full 12 minutes.
- Step 9: Remove the cookies from the oven and let them cool on the baking sheet for 5 minutes. Transfer them to a cooling rack and cool for another 5 minutes before serving. If desired, add extra white chocolate chunks on top while the cookies are still warm.
- Step 10: Store any leftover cookies in an airtight container for up to three days.
Tips & Variations
- For a more intense red color, increase the amount of red gel food coloring slightly, but avoid adding too much to prevent a bitter taste.
- You can substitute white chocolate chips with dark or milk chocolate chips for a different flavor profile.
- Chilling the dough for 30 minutes before baking can help control spreading and improve texture.
- Use high-quality Dutch process cocoa for the best flavor and vibrant color.
Storage
Store leftover Red Velvet Cookies in an airtight container at room temperature for up to three days. To keep them fresh longer, you can refrigerate the cookies for up to a week or freeze them for up to three months. Reheat frozen or refrigerated cookies in a warm oven for a few minutes to restore softness.
How to Serve
Serve this delicious recipe with your favorite sides.
FAQs
Can I use regular cocoa powder instead of Dutch process?
Yes, but Dutch process cocoa is preferred for its smoother flavor and deeper color. Using regular cocoa may result in a slightly more acidic taste and less vibrant red color.
Why do the cookies require only egg yolks and not whole eggs?
Using only egg yolks adds richness and moisture while keeping the cookies tender and soft. Egg whites would make the dough firmer and could change the texture.
PrintRed Velvet Cookies with White Chocolate Chips Recipe

Delight in these soft, chewy Red Velvet Cookies made with rich cocoa, vibrant red food coloring, and sweet white chocolate chunks. Perfect for a festive treat or anytime you crave a classic red velvet flavor in cookie form.
- Prep Time: 15 minutes
- Cook Time: 10-12 minutes
- Total Time: 27 minutes
- Yield: 18 cookies 1x
- Category: Dessert
- Method: Baking
- Cuisine: American
Ingredients
Dry Ingredients
- 1 1/2 cups + 2 tbsps (204 g) all-purpose flour (spooned and leveled)
- 2 tbsps (10 g) Dutch process cocoa powder
- 1/2 tsp baking soda
- 1/2 tsp baking powder
- 1/2 tsp salt
Wet Ingredients
- 3/4 cup (168 g) salted butter, softened
- 3/4 cup (165 g) light brown sugar
- 1/4 cup (50 g) granulated white sugar
- 2 egg yolks, at room temperature
- 1 tbsp vanilla extract
- 1–1 1/2 tsp red gel food coloring (depending on desired color intensity)
Add-ins
- 3/4 cup (150 g) chopped white chocolate or white chocolate chips
Instructions
- Preheat and Prepare: Preheat your oven to 350°F (175°C). Line two baking sheets with parchment paper and set them aside to prepare for baking.
- Mix Dry Ingredients: In a small bowl, whisk together the flour, Dutch process cocoa powder, baking soda, baking powder, and salt until well combined. Set aside.
- Cream Butter and Sugars: In a large bowl, using an electric mixer, cream the softened salted butter with the light brown sugar and granulated white sugar for about two minutes or until the mixture becomes light and fluffy.
- Add Egg Yolks and Flavorings: Beat in the egg yolks, vanilla extract, and red gel food coloring on medium speed for two minutes until the mixture is fluffy and evenly colored.
- Incorporate Dry Ingredients: Gradually add the dry ingredient mixture to the wet ingredients and mix until just combined, making sure not to overmix.
- Add White Chocolate: Gently fold in the chopped white chocolate or white chocolate chips until evenly distributed throughout the dough.
- Form Cookie Dough Balls: Scoop the dough into 18 equal-sized balls. Space them about two inches apart on the prepared baking sheets to allow for spreading.
- Bake: Bake the cookies in the preheated oven for 10-12 minutes. For slightly underdone, soft centers, bake closer to 10 minutes; for crisper edges, bake the full 12 minutes.
- Cool: Remove the cookies from the oven and let them cool on the baking sheet for 5 minutes. Then transfer them to a wire rack and cool for an additional 5 minutes before serving. Optionally, add extra white chocolate chunks on top after baking.
- Store: Keep any leftover cookies stored in an airtight container for up to three days to maintain freshness.
Notes
- Use room temperature egg yolks to ensure smooth batter incorporation.
- Adjust the red gel food coloring amount depending on how vibrant you want your cookies.
- Do not overmix the dough after adding dry ingredients to keep cookies tender.
- For extra flavor, you can add a pinch of cinnamon or espresso powder to the dry ingredients.
- If you prefer, substitute salted butter with unsalted and add a pinch more salt to balance flavors.
- Cookies may spread more if dough is warm, so chilling dough for 15 minutes before baking can control spread.
Keywords: Red Velvet Cookies, white chocolate cookies, soft cookies, dessert, holiday cookies