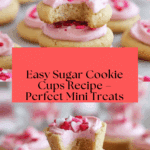
Sugar Cookie Cups with Frosting and Sprinkles Recipe
Introduction
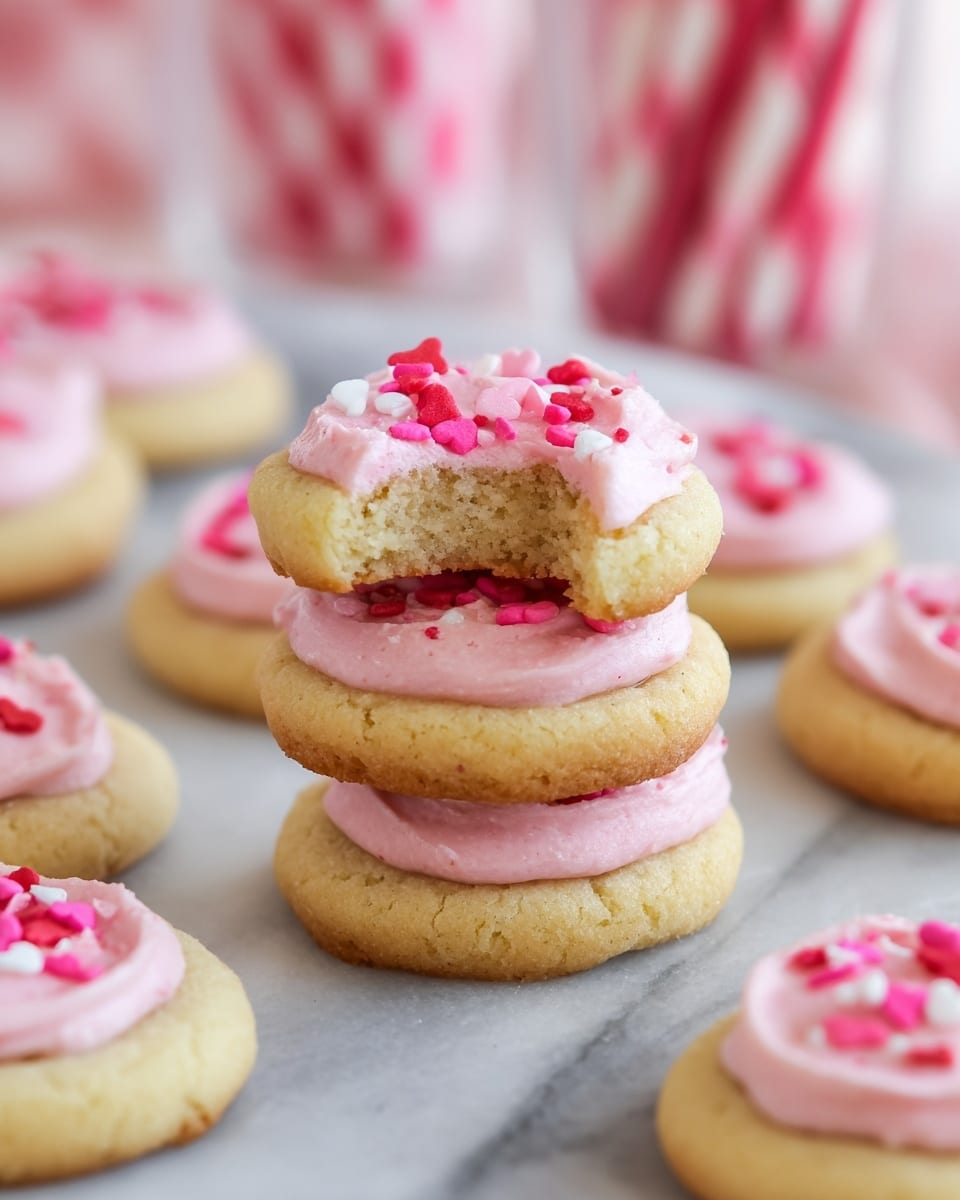
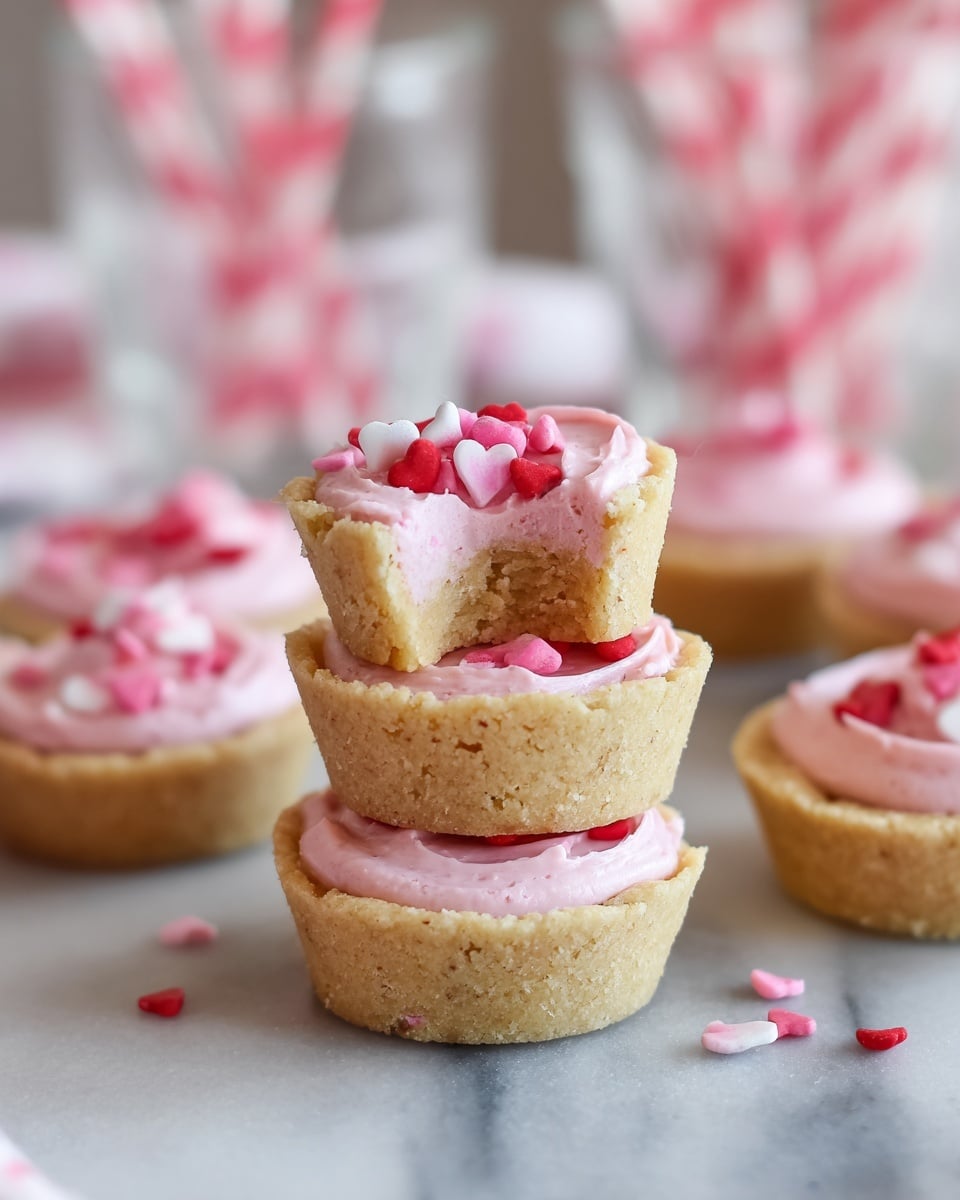
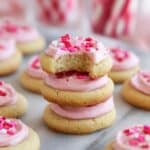
Sugar Cookie Cups are a delightful twist on a classic favorite, perfect for parties or a fun treat. These bite-sized cookies are shaped into little cups and filled with creamy frosting, making them as beautiful as they are delicious.
Ingredients
- 3/4 cup salted butter (softened)
- 3/4 cup sugar
- 1 egg
- 1 teaspoon vanilla extract
- 1/4 teaspoon almond extract (optional)
- 1/2 teaspoon baking powder
- 2 cups all-purpose flour
- 1/4 cup salted butter (softened, for frosting)
- 1 1/3 cups powdered sugar
- 1/2 teaspoon vanilla extract (for frosting)
- 1 tablespoon milk or heavy whipping cream
- Food coloring (optional)
- Sprinkles (optional)
Instructions
- Step 1: Preheat your oven to 350°F and grease 36 mini muffin cups with cooking spray.
- Step 2: In a stand mixer bowl, beat the softened butter and sugar together until well combined and fluffy.
- Step 3: Add the egg, vanilla extract, and almond extract if using, and mix until smooth.
- Step 4: Stir in the baking powder and flour until just combined to form the dough.
- Step 5: Scoop rounded tablespoons of dough (about 1 inch in diameter) and roll each into a ball. Place one ball in each muffin cup and flatten slightly with your fingers.
- Step 6: Bake the cookie dough for about 10 minutes, or until the edges are golden brown.
- Step 7: Immediately after removing from the oven, use the cap of a bottle (like a vanilla extract bottle cap) to gently press into each cookie, forming a small cup.
- Step 8: Let the cookie cups cool in the pan for 5 minutes, then transfer to a wire rack to cool completely.
- Step 9: For the frosting, beat softened butter in a clean bowl until smooth.
- Step 10: Gradually add powdered sugar and vanilla, mixing until combined.
- Step 11: Add milk or cream and beat until the frosting is smooth and creamy. Add more milk if needed to reach your desired consistency. Stir in food coloring if using.
- Step 12: Fill a piping bag or a resealable plastic bag with the frosting and pipe it into each cooled cookie cup.
- Step 13: Decorate with sprinkles if desired, then serve and enjoy!
Tips & Variations
- Use almond extract sparingly or omit it if you prefer a more traditional vanilla flavor.
- Try different food coloring shades to match holidays or party themes.
- For a decorative touch, dipped cookie cups in melted chocolate before filling.
- If you don’t have a piping bag, use a zip-top bag and snip off a corner for easy frosting application.
Storage
Store the cookie cups in an airtight container at room temperature for up to 3 days. For longer storage, keep them refrigerated for up to a week. Allow refrigerated cookie cups to come to room temperature before serving for the best texture. Frosted cookie cups are best enjoyed fresh but can be gently reheated in a warm oven for a few minutes to soften the cookie base.
How to Serve
Serve this delicious recipe with your favorite sides.
FAQs
Can I make the cookie cups ahead of time?
Yes, you can bake the cookie cups a day or two in advance and store them in an airtight container. Frost them just before serving for the freshest taste and appearance.
What can I use instead of almond extract?
If you don’t have almond extract, you can simply omit it or replace it with an equal amount of extra vanilla extract for a pure vanilla flavor.
PrintSugar Cookie Cups with Frosting and Sprinkles Recipe
These delightful Sugar Cookie Cups are a fun twist on classic sugar cookies, baked in mini muffin tins for an adorable cup shape perfect for filling with creamy frosting and sprinkles. Soft, buttery, and sweet with a touch of vanilla and almond extract, these cookie cups are easy to make and perfect for parties, holidays, or any sweet occasion.
- Prep Time: 15 minutes
- Cook Time: 10 minutes
- Total Time: 25 minutes
- Yield: 36 mini cookie cups 1x
- Category: Dessert
- Method: Baking
- Cuisine: American
Ingredients
Cookie Dough
- 3/4 cup salted butter (softened)
- 3/4 cup sugar
- 1 egg
- 1 teaspoon vanilla extract
- 1/4 teaspoon almond extract (optional)
- 1/2 teaspoon baking powder
- 2 cups all-purpose flour
Frosting
- 1/4 cup salted butter (softened)
- 1 1/3 cups powdered sugar
- 1/2 teaspoon vanilla extract
- 1 tablespoon milk or heavy whipping cream (plus extra 1/2 to 1 tablespoon as needed)
- Food coloring (optional)
- Sprinkles (optional)
Instructions
- Preheat and prepare pans: Preheat your oven to 350°F (175°C) and grease 36 mini muffin cups thoroughly using cooking spray to prevent sticking.
- Make cookie dough: In the bowl of a stand mixer, beat 3/4 cup softened butter with 3/4 cup sugar until the mixture is smooth and well combined. Add 1 egg, 1 teaspoon vanilla extract, and 1/4 teaspoon almond extract if using, mixing thoroughly.
- Add dry ingredients: Stir in 1/2 teaspoon baking powder and 2 cups flour until a dough forms and is well combined, making sure not to overmix.
- Shape dough balls: Scoop dough by rounded tablespoons (about 1 inch in diameter) and roll into balls. Place one ball into each prepared mini muffin cup and flatten gently with your fingers; no need to form complete cups yet.
- Bake: Bake in the preheated oven for approximately 10 minutes, or until the edges turn a golden brown.
- Form the cups: Immediately after removing from the oven, press the center of each cookie with the cap of a bottle (such as a vanilla extract bottle cap) to form an indentation or “cup” shape.
- Cool cookies: Let the cookie cups cool in the pan for 5 minutes, then transfer them carefully to a wire cooling rack to cool completely.
- Make frosting: In a clean bowl of the stand mixer, beat 1/4 cup softened butter until smooth. Add 1 1/3 cups powdered sugar and 1/2 teaspoon vanilla extract, mixing to incorporate well.
- Add milk and color: Beat in 1 tablespoon of milk or heavy cream until the frosting is smooth. Add more milk (1/2 to 1 tablespoon) if you want a thinner consistency. Mix in food coloring if you’d like colored frosting.
- Assemble cookie cups: Spoon the frosting into a piping bag or resealable baggie and pipe a generous amount of frosting into each cooled cookie cup.
- Decorate: Add sprinkles on top for a festive touch, if desired.
Notes
- Make sure butter is at room temperature for easier mixing and a smoother dough.
- Do not overbake cookies; edges should just turn golden to keep the centers soft enough to mold into cups.
- If you don’t have a piping bag, you can use a resealable plastic bag with a small corner snipped off for frosting application.
- Cookie cups can be made a day ahead and stored in an airtight container at room temperature.
- For a dairy-free version, substitute butter and milk with non-dairy alternatives.
Keywords: sugar cookie cups, mini cookies, cookie cups with frosting, easy cookie recipe, party desserts, mini muffin cookie cups